- All
- Product Name
- Product Keyword
- Product Model
- Product Summary
- Product Description
- Multi Field Search
Views: 201 Author: XianDa Publish Time: 2024-12-30 Origin: Site

Content Menu
● How to Make a Cosmetics Box at Home
>> Step 4: Create Functional Inserts (Optional)
>> Themed Boxes
● Benefits of Using a Cosmetic Paper Box Supplier
Creating a cosmetics box at home can be a fun and rewarding project, allowing you to personalize your beauty products while showcasing your creativity. This comprehensive guide will walk you through the process of making your own cosmetics box, including materials, design ideas, and step-by-step instructions. Additionally, we will explore the benefits of sourcing from a cosmetic paper box supplier for those who wish to scale their projects or start a small business.
To create a cosmetics box, you will need the following materials:
- Cardboard or cardstock: Choose a sturdy material that can hold the weight of your cosmetics.
- Scissors or a craft knife: For cutting the cardboard to size.
- Ruler: To measure and ensure straight lines.
- Pencil: For marking measurements on the cardboard.
- Glue or double-sided tape: To assemble the box.
- Decorative paper or paint: For personalizing the exterior of the box.
- Embellishments: Such as stickers, ribbons, or washi tape for added flair.
- Optional inserts: Foam or fabric inserts to protect delicate items.
1. Decide on the Size: Determine how large you want your cosmetics box to be. A common size is 10 inches long, 6 inches wide, and 4 inches high. Adjust dimensions based on your needs.
2. Draw the Template: Use your ruler and pencil to draw a rectangle on the cardboard according to your measurements. Add extra flaps for folding (about 1 inch each for secure assembly).
3. Cut Out the Shape: Carefully cut out your shape using scissors or a craft knife. Ensure all edges are straight for a professional look.
1. Score the Lines: Use a ruler to score along the lines where you will fold. This will make it easier to create clean folds without cracking the cardboard.
2. Fold the Box: Fold along the scored lines to create the sides of your box. Ensure that corners are sharp and neat for a polished finish.

3. Glue or Tape: Apply glue or tape to secure the sides together. Hold in place until set; consider using clips for added stability while drying.
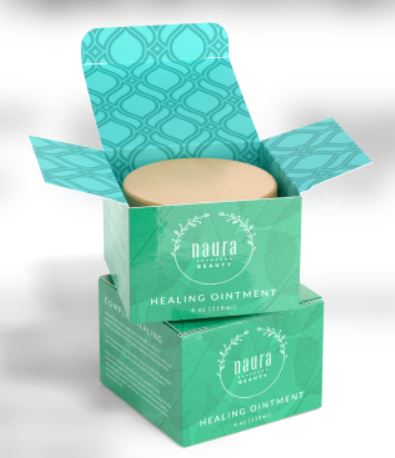
1. Paint or Cover: Use decorative paper or paint to cover the outside of your box. This is where you can get creative! Choose patterns that resonate with your style—floral designs, geometric patterns, or solid colors work well.
2. Add Embellishments: Attach stickers, ribbons, or other decorative elements to personalize your box further. You might also consider adding labels for organization.
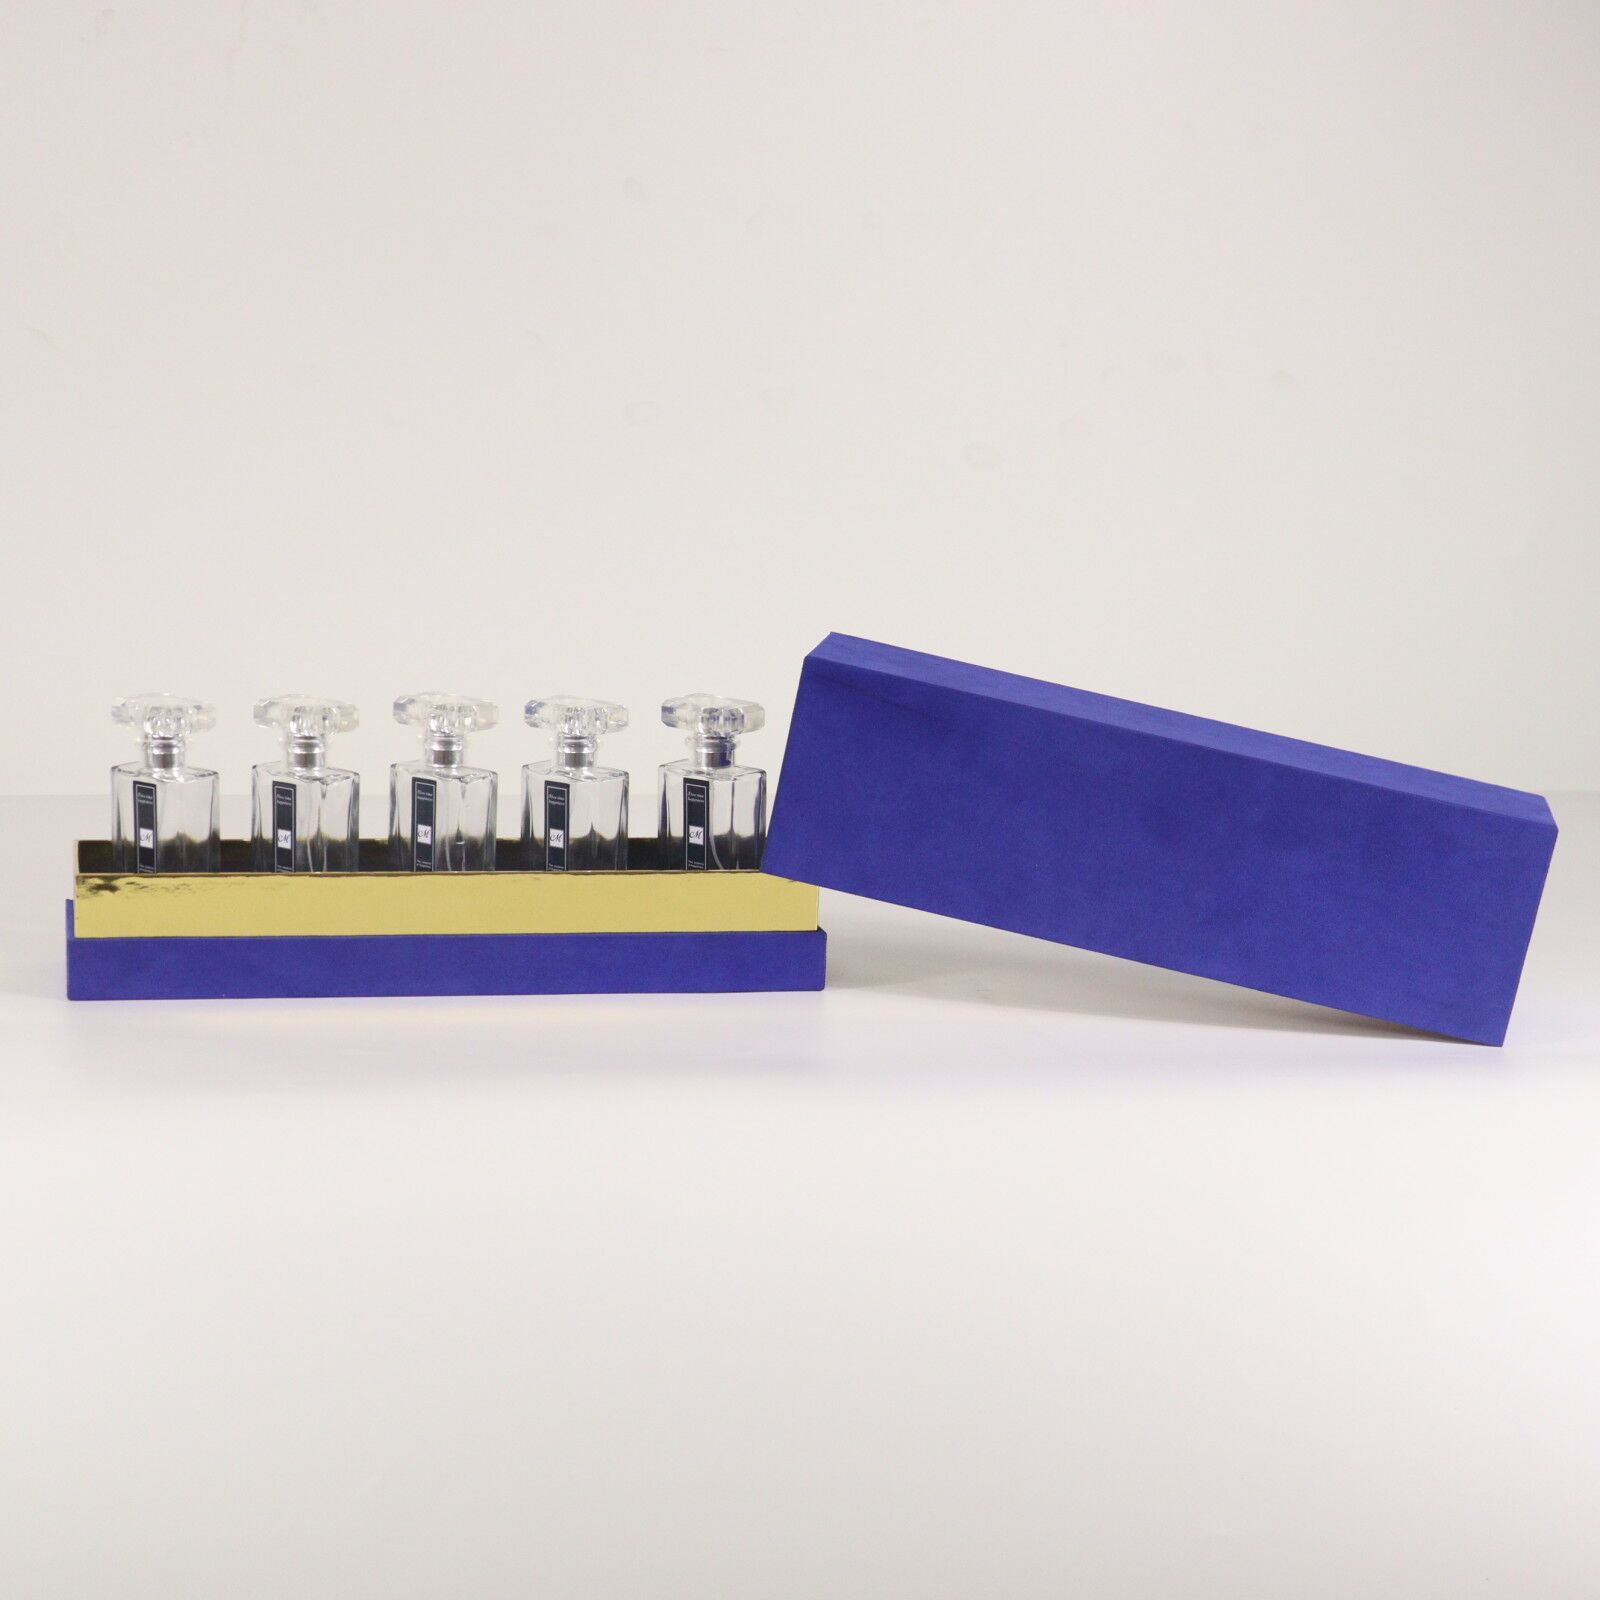
1. Measure Insert Dimensions: If you want to add compartments inside your box, measure and cut pieces of cardboard or foam to fit snugly within.
2. Assemble Inserts: Glue these inserts in place to create sections for different types of cosmetics—lipsticks, eyeliners, and skincare products can each have their own designated space.
1. Let It Dry: If you used glue, allow it to dry completely before using your box.
2. Fill with Cosmetics: Once dry, fill your new cosmetics box with your favorite beauty products! Arrange them neatly for easy access.
Creating themed boxes can add an extra layer of fun and personalization:
- Seasonal Themes: Design boxes that reflect different seasons—think pastel colors for spring or warm tones for autumn.
- Occasion-Based Designs: Create special boxes for events like weddings (elegant white and gold) or birthdays (bright colors and playful designs).
Choose colors that match your room decor or personal style:
- Monochromatic schemes can create a sophisticated look.
- Contrasting colors can make your box stand out as a statement piece.
Consider adding dividers inside your box for organization:
- Use small cardboard pieces to create sections within the box.
- This helps keep similar products together and makes finding items easier.
If you're looking to produce cosmetics boxes in larger quantities or want professional-quality packaging, consider working with a cosmetic paper box supplier. Here are some benefits:

Suppliers often offer various sizes, shapes, and finishes tailored to your brand's needs:
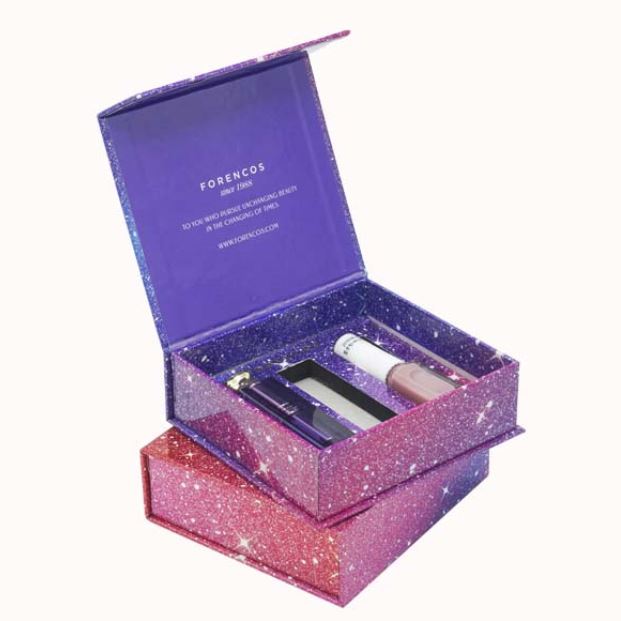
- You can choose from different styles such as magnetic closures, sliding drawers, or traditional lift-off lids.
Professional suppliers use high-quality materials that ensure durability and aesthetic appeal:
- Options may include eco-friendly materials that align with sustainable practices.
Many suppliers focus on sustainability by offering eco-friendly packaging options:
- Recycled materials not only reduce waste but also appeal to environmentally conscious consumers.
Ordering in bulk can reduce costs significantly compared to DIY projects:
- This is especially beneficial if you're starting a small business selling cosmetics.
Throughout this article, visuals such as diagrams of cutting templates and photos of finished boxes can enhance understanding. Additionally, video tutorials can provide step-by-step guidance for visual learners.
1. What materials are best for making a cosmetics box?
- Sturdy cardboard or cardstock is recommended for durability.
2. How can I make my cosmetics box unique?
- Personalize with decorative papers, colors, and embellishments that reflect your style.
3. Can I use recycled materials?
- Yes! Using recycled cardboard is an eco-friendly option.
4. Where can I find cosmetic paper box suppliers?
- Look online for companies specializing in custom packaging solutions.
5. What are some tips for organizing cosmetics in my box?
- Use small containers or dividers within the box to keep products organized.
6. How do I ensure my cosmetics stay safe in the box?
- Consider using foam inserts or soft fabric lining inside the box to protect delicate items from damage during transport.
7. Can I sell my DIY cosmetics boxes?
- Absolutely! If you create unique designs and quality packaging, you could market them through online platforms like Etsy or at local craft fairs.
8. What tools do I need beyond basic crafting supplies?
- Depending on your design complexity, tools like an X-Acto knife, cutting mat, bone folder (for scoring), and decorative edge scissors may enhance precision.
9. How long does it take to make one cosmetics box?
- The time varies based on design complexity but typically takes 1–3 hours from start to finish.
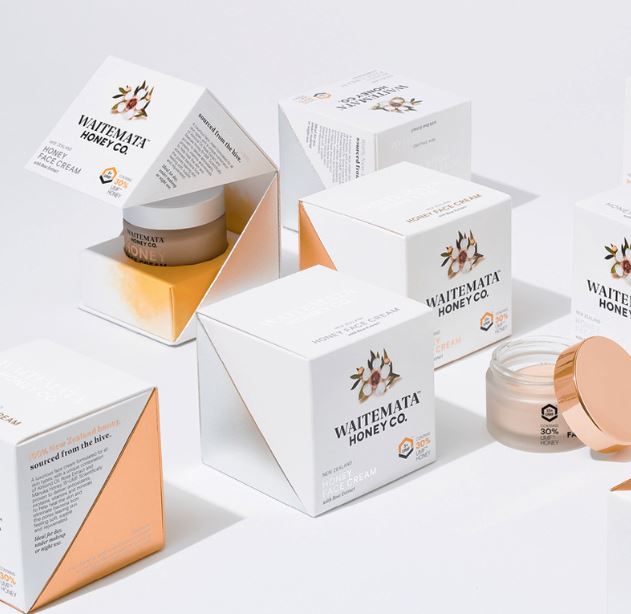
10. Are there any specific trends in cosmetic packaging right now?
- Yes! Minimalist designs with sustainable materials are trending as consumers become more environmentally aware.
Making a cosmetics box at home is not only an enjoyable craft project but also an opportunity to express creativity while organizing beauty products effectively. Whether you're creating one for personal use or considering scaling up with a cosmetic paper box supplier, this guide provides all the essential steps and tips needed for success.
Creating personalized cosmetic boxes allows you not only to store but also showcase your beauty collection in style! With this guide in hand, you're well-equipped to embark on this creative journey—happy crafting!
---


