- All
- Product Name
- Product Keyword
- Product Model
- Product Summary
- Product Description
- Multi Field Search

Content Menu
● Troubleshooting Common Issues
Mounting a flower box is an excellent way to add charm and beauty to your home's exterior. Whether you're looking to brighten up your windows or create a stunning focal point, properly installed flower boxes can make a significant impact. This comprehensive guide will walk you through the process of mounting a flower box, from preparation to the final touches.
Before you begin the installation process, it's crucial to gather all the necessary materials and tools. Here's what you'll need:
- Flower box
- Mounting brackets
- Screws and anchors
- Drill and drill bits
- Level
- Pencil
- Measuring tape
- Stud finder
- Safety glasses
- Gloves


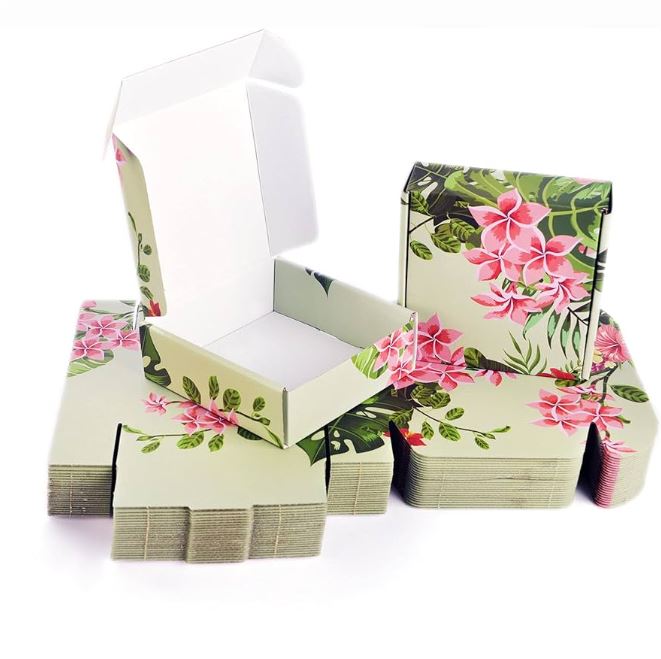
It's also important to choose the right flower box for your needs. If you're looking for a reliable flower paper box supplier, consider researching local gardening stores or online retailers that specialize in garden accessories. Many flower paper box suppliers offer a variety of styles and materials to suit different architectural designs and personal preferences.
Selecting the perfect spot for your flower box is crucial. Here are some factors to consider:
- Sunlight exposure
- Window size and style
- Architectural features of your home
- Accessibility for watering and maintenance
Remember that different plants have varying sunlight requirements, so choose a location that suits the types of flowers you plan to grow. South-facing windows typically receive the most sunlight, making them ideal for sun-loving plants, while north-facing windows are better suited for shade-tolerant varieties.
Accurate measurements are key to a successful installation. Follow these steps:
1. Measure the width of your window.
2. Mark the center point below the window sill.
3. Measure and mark where the brackets will be placed, ensuring they're evenly spaced.
Use a level to ensure your markings are straight and aligned. This step is crucial for achieving a professional-looking result.
Measuring for window box installation
Now it's time to install the mounting brackets. Here's how:
1. Use a stud finder to locate the studs in your wall.
2. Pre-drill holes for the brackets, making sure they align with the studs.
3. Attach the brackets using screws and anchors appropriate for your wall type.
When selecting brackets, consider the weight of your fully planted flower box. Heavy-duty brackets may be necessary for larger boxes or those filled with moisture-retaining soil.
With the brackets securely in place, you can now mount your flower box:
1. Carefully lift the flower box and place it onto the brackets.
2. Ensure the box is level and centered.
3. Secure the box to the brackets using screws or the method recommended by your flower paper box supplier.
Some flower paper box suppliers offer boxes with pre-drilled holes for easy mounting. If your box doesn't have these, you may need to drill them yourself, following the manufacturer's guidelines.
Proper drainage is essential for the health of your plants. If your flower box doesn't have pre-drilled drainage holes, you'll need to add them:
1. Mark evenly spaced points along the bottom of the box.
2. Drill small holes at these points.
3. Consider adding a layer of gravel at the bottom of the box to improve drainage.
Adequate drainage prevents water from pooling, which can lead to root rot and other plant health issues. Some gardeners also use a layer of landscape fabric over the drainage holes to prevent soil from washing out while still allowing water to escape.


Now comes the fun part – filling your flower box with soil and plants:
1. Use a high-quality potting mix suitable for container gardening.
2. Fill the box about 2/3 full with soil.
3. Arrange your plants in the box, considering their growth habits and color combinations.
4. Add more soil around the plants and water thoroughly.
Planting in a window box
When selecting plants, consider a combination of "thrillers" (tall, eye-catching plants), "fillers" (medium-sized plants to add volume), and "spillers" (trailing plants to cascade over the edges). This creates a dynamic and visually appealing arrangement.
To keep your flower box looking its best:
- Water regularly, especially during hot weather.
- Fertilize according to the needs of your plants.
- Deadhead flowers to encourage continuous blooming.
- Trim and prune as needed to maintain shape and health.
Consider installing a drip irrigation system for consistent watering, especially if you have multiple flower boxes or live in a hot climate. This can save time and ensure your plants receive adequate moisture.
Your flower box can be a year-round feature with proper planning:
- Spring: Plant colorful annuals like pansies and petunias.
- Summer: Add heat-loving plants such as geraniums and marigolds.
- Fall: Incorporate chrysanthemums and ornamental kale.
- Winter: Use evergreen branches and berries for a festive look.
By changing your plantings seasonally, you can maintain visual interest throughout the year and adapt to changing weather conditions.
To make your flower box stand out:
- Use a variety of plant heights and textures.
- Incorporate trailing plants for added dimension.
- Consider adding small decorative elements like miniature garden ornaments.
Some gardeners also use decorative moss or small pebbles to cover exposed soil, creating a polished look and helping to retain moisture.
Even with proper installation, you may encounter some challenges:
- Loose brackets: Regularly check and tighten screws as needed.
- Water damage: Ensure proper sealing between the box and wall to prevent moisture issues.
- Plant health problems: Monitor for pests and diseases, adjusting care as necessary.
If you notice any signs of stress in your plants, such as yellowing leaves or wilting, act quickly to diagnose and address the issue. Your local garden center or flower paper box supplier may be able to offer advice on common plant problems.
When mounting your flower box, keep these safety tips in mind:
- Use sturdy, weather-resistant materials.
- Ensure the box is securely fastened to prevent accidents.
- Be cautious of weight limits, especially for larger boxes.
In areas prone to high winds or severe weather, consider additional securing methods or opt for lighter-weight materials to reduce the risk of damage or injury.
For environmentally conscious gardeners:
- Choose sustainable materials for your flower box.
- Opt for organic potting soil and fertilizers.
- Consider using native plants to support local ecosystems.
Many flower paper box suppliers now offer eco-friendly options made from recycled materials or sustainable sources. These can be an excellent choice for those looking to reduce their environmental impact.
If you're feeling creative, consider making your own flower box:
1. Repurpose old wooden crates or pallets.
2. Use galvanized metal for a rustic look.
3. Create a mosaic design with broken tiles.
Here's a video showcasing some DIY flower box ideas:


DIY flower boxes can be a fun project and allow you to create a unique look that perfectly complements your home's style.
Here are some common questions about mounting flower boxes:
1. How high should I mount my flower box?
Answer: Typically, flower boxes are mounted 2-4 inches below the window sill for optimal visibility and accessibility.
2. Can I mount a flower box on vinyl siding?
Answer: Yes, but you'll need to use special mounting brackets designed for vinyl siding to prevent damage.
3. How often should I water plants in a flower box?
Answer: This depends on the plants and climate, but generally, check the soil daily and water when the top inch feels dry.
4. What's the best material for a flower box?
Answer: Wood, PVC, and fiberglass are popular choices. Each has its pros and cons in terms of durability, aesthetics, and maintenance.
5. Can I mount a flower box without drilling into my house?
Answer: Yes, there are hanging flower boxes designed to sit on window sills or attach to railings without the need for drilling.
By following this comprehensive guide, you'll be well-equipped to mount your flower box and create a beautiful addition to your home's exterior. Remember to choose a reputable flower paper box supplier for quality materials, and don't be afraid to get creative with your plantings. With proper care and maintenance, your flower boxes will provide years of beauty and enjoyment. Happy gardening!