- All
- Product Name
- Product Keyword
- Product Model
- Product Summary
- Product Description
- Multi Field Search
Views: 203 Author: XianDa Publish Time: 2024-12-24 Origin: Site

Content Menu
● How to Make a Window Flower Box Out of Wood
>> Step 1: Measure Your Window
>> Step 3: Assemble the Box Frame
>> Step 4: Drill Drainage Holes
>> Step 6: Install Your Flower Box
● Choosing Plants for Your Window Box
● Designing Your Flower Box Arrangement
● Benefits of Using a Flower Paper Box Supplier
● Additional Considerations When Making Your Window Flower Box
>>> Rainy Climates
>>> Hot Climates
>>> Spring/Summer
>>> Fall/Winter
>>> Adding Decorative Elements
Creating a window flower box is a delightful way to enhance the beauty of your home while providing a perfect space for flowers and plants. This guide will walk you through the entire process of building a wooden window flower box, from selecting materials to finishing touches. Additionally, we will explore the benefits of sourcing from a flower paper box supplier for your floral arrangements.
Before starting, gather the following materials:
- Wood: Choose rot-resistant wood like cedar or pine. For this project, you will need:
- 1x6 boards (for the sides and bottom)
- 2x3 boards (for the frame)
- Fasteners:
- Exterior wood screws (1 ¼”)
- Wood glue
- Tools:
- Drill
- Miter saw or hand saw
- Screwdriver
- Clamps
- Sandpaper
- Finishing Supplies:
- Exterior wood paint or stain
- Waterproof sealant

Start by measuring the width of your window to determine how long your flower box should be. A common practice is to make the box about 6 inches longer than the window on each side for aesthetic appeal. This overhang creates a more balanced look and allows for better visibility of the flowers from both inside and outside.
Using your measurements, cut the wood into the following pieces:
- Two long pieces for the front and back (length according to your window measurement)
- Two shorter pieces for the sides (height depends on your preference, typically around 6-8 inches)
- One piece for the bottom (same length as the front and back)
Make sure to use a miter saw or hand saw for precise cuts. If you're not comfortable with power tools, consider asking for assistance at your local hardware store.
1. Create the Sides: Attach each side piece to one end of the long front piece using wood screws. Pre-drill holes to prevent splitting.
2. Attach the Back: Secure the back piece in place with screws.
3. Add the Bottom: Finally, attach the bottom piece by aligning it with the edges of the side and back pieces.
Use wood glue in addition to screws for added strength. Clamping the pieces together while they dry can help ensure a tight bond.
To ensure proper drainage, drill several small holes in the bottom of your flower box. This prevents water from accumulating and helps maintain healthy plant roots. A good rule of thumb is to drill at least four holes spaced evenly across the bottom.
Sand all surfaces until smooth to prevent splinters. Pay special attention to corners and edges where splinters are most likely to occur. Apply a waterproof sealant or exterior paint to protect your flower box from weather elements. If you prefer a natural look, consider using a clear sealant that highlights the wood grain.
Once dry, you can install your flower box under your window using brackets or directly attaching it to the wall with screws. If using brackets, make sure they are rated for outdoor use and can support the weight of soil and plants.
When selecting plants for your window box, consider:
- Sunlight Requirements: Choose plants that match the sunlight exposure of your window. For instance, if your window receives full sun, opt for sun-loving plants like petunias or geraniums.
- Water Needs: Group plants with similar watering needs together. This makes maintenance easier and ensures that all plants thrive.
- Seasonal Blooms: Consider mixing perennials with annuals for year-round color. Perennials will come back every year, while annuals provide vibrant color throughout their growing season.
- Petunias: These colorful flowers come in various shades and are perfect for sunny spots.
- Geraniums: Known for their hardiness, geraniums add vibrant color and can tolerate varying conditions.
- Herbs like Basil and Thyme: Not only do they look great, but they also provide fresh ingredients for cooking.
- Succulents: Ideal for low-maintenance gardening; they thrive in sunny locations and require minimal watering.
Once you've chosen your plants, it's time to design an arrangement that is visually appealing. Here are some tips:
1. Layering Heights: Place taller plants at the back of the box (if it's against a wall) or in the center (if viewed from all sides). Use shorter plants in front.
2. Color Coordination: Choose colors that complement each other. For example, pairing warm colors like reds and yellows can create a vibrant display.
3. Texture Variety: Mix different leaf shapes and sizes to add interest to your arrangement.
- Back Row: Tall petunias
- Middle Row: Medium-height geraniums
- Front Row: Low-growing herbs like thyme or trailing plants like ivy
To keep your window flower box thriving:
- Water Regularly: Check soil moisture frequently; containers dry out faster than garden beds.
- Fertilize Monthly: Use a balanced fertilizer during growing seasons to promote healthy growth.
- Prune Dead Leaves/Flowers: Regularly remove dead blooms (deadheading) encourages new growth and keeps plants looking tidy.

")
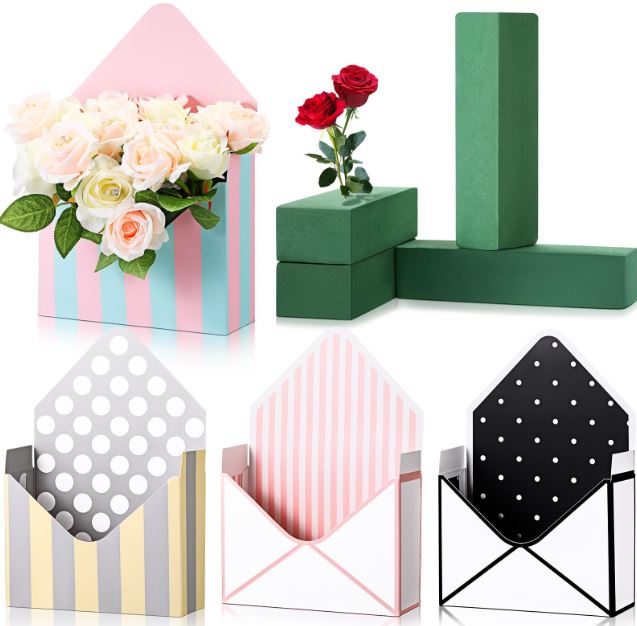
When arranging flowers from your window box, consider sourcing packaging from a reputable flower paper box supplier. These suppliers offer various options that can enhance your floral presentations:
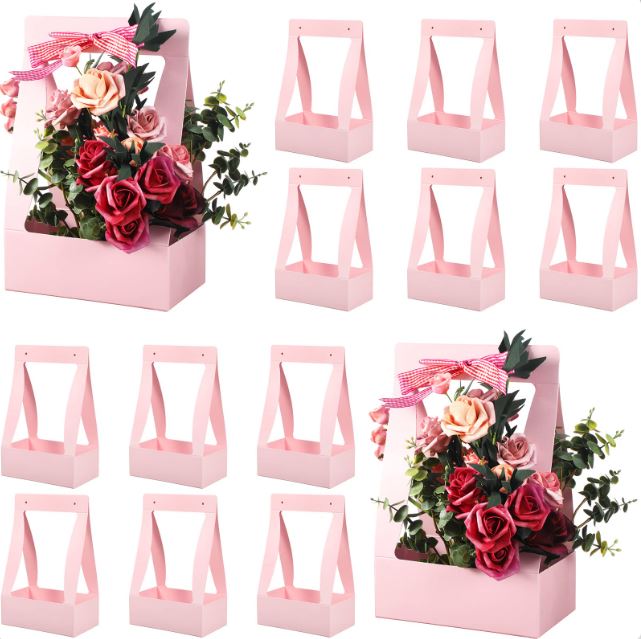
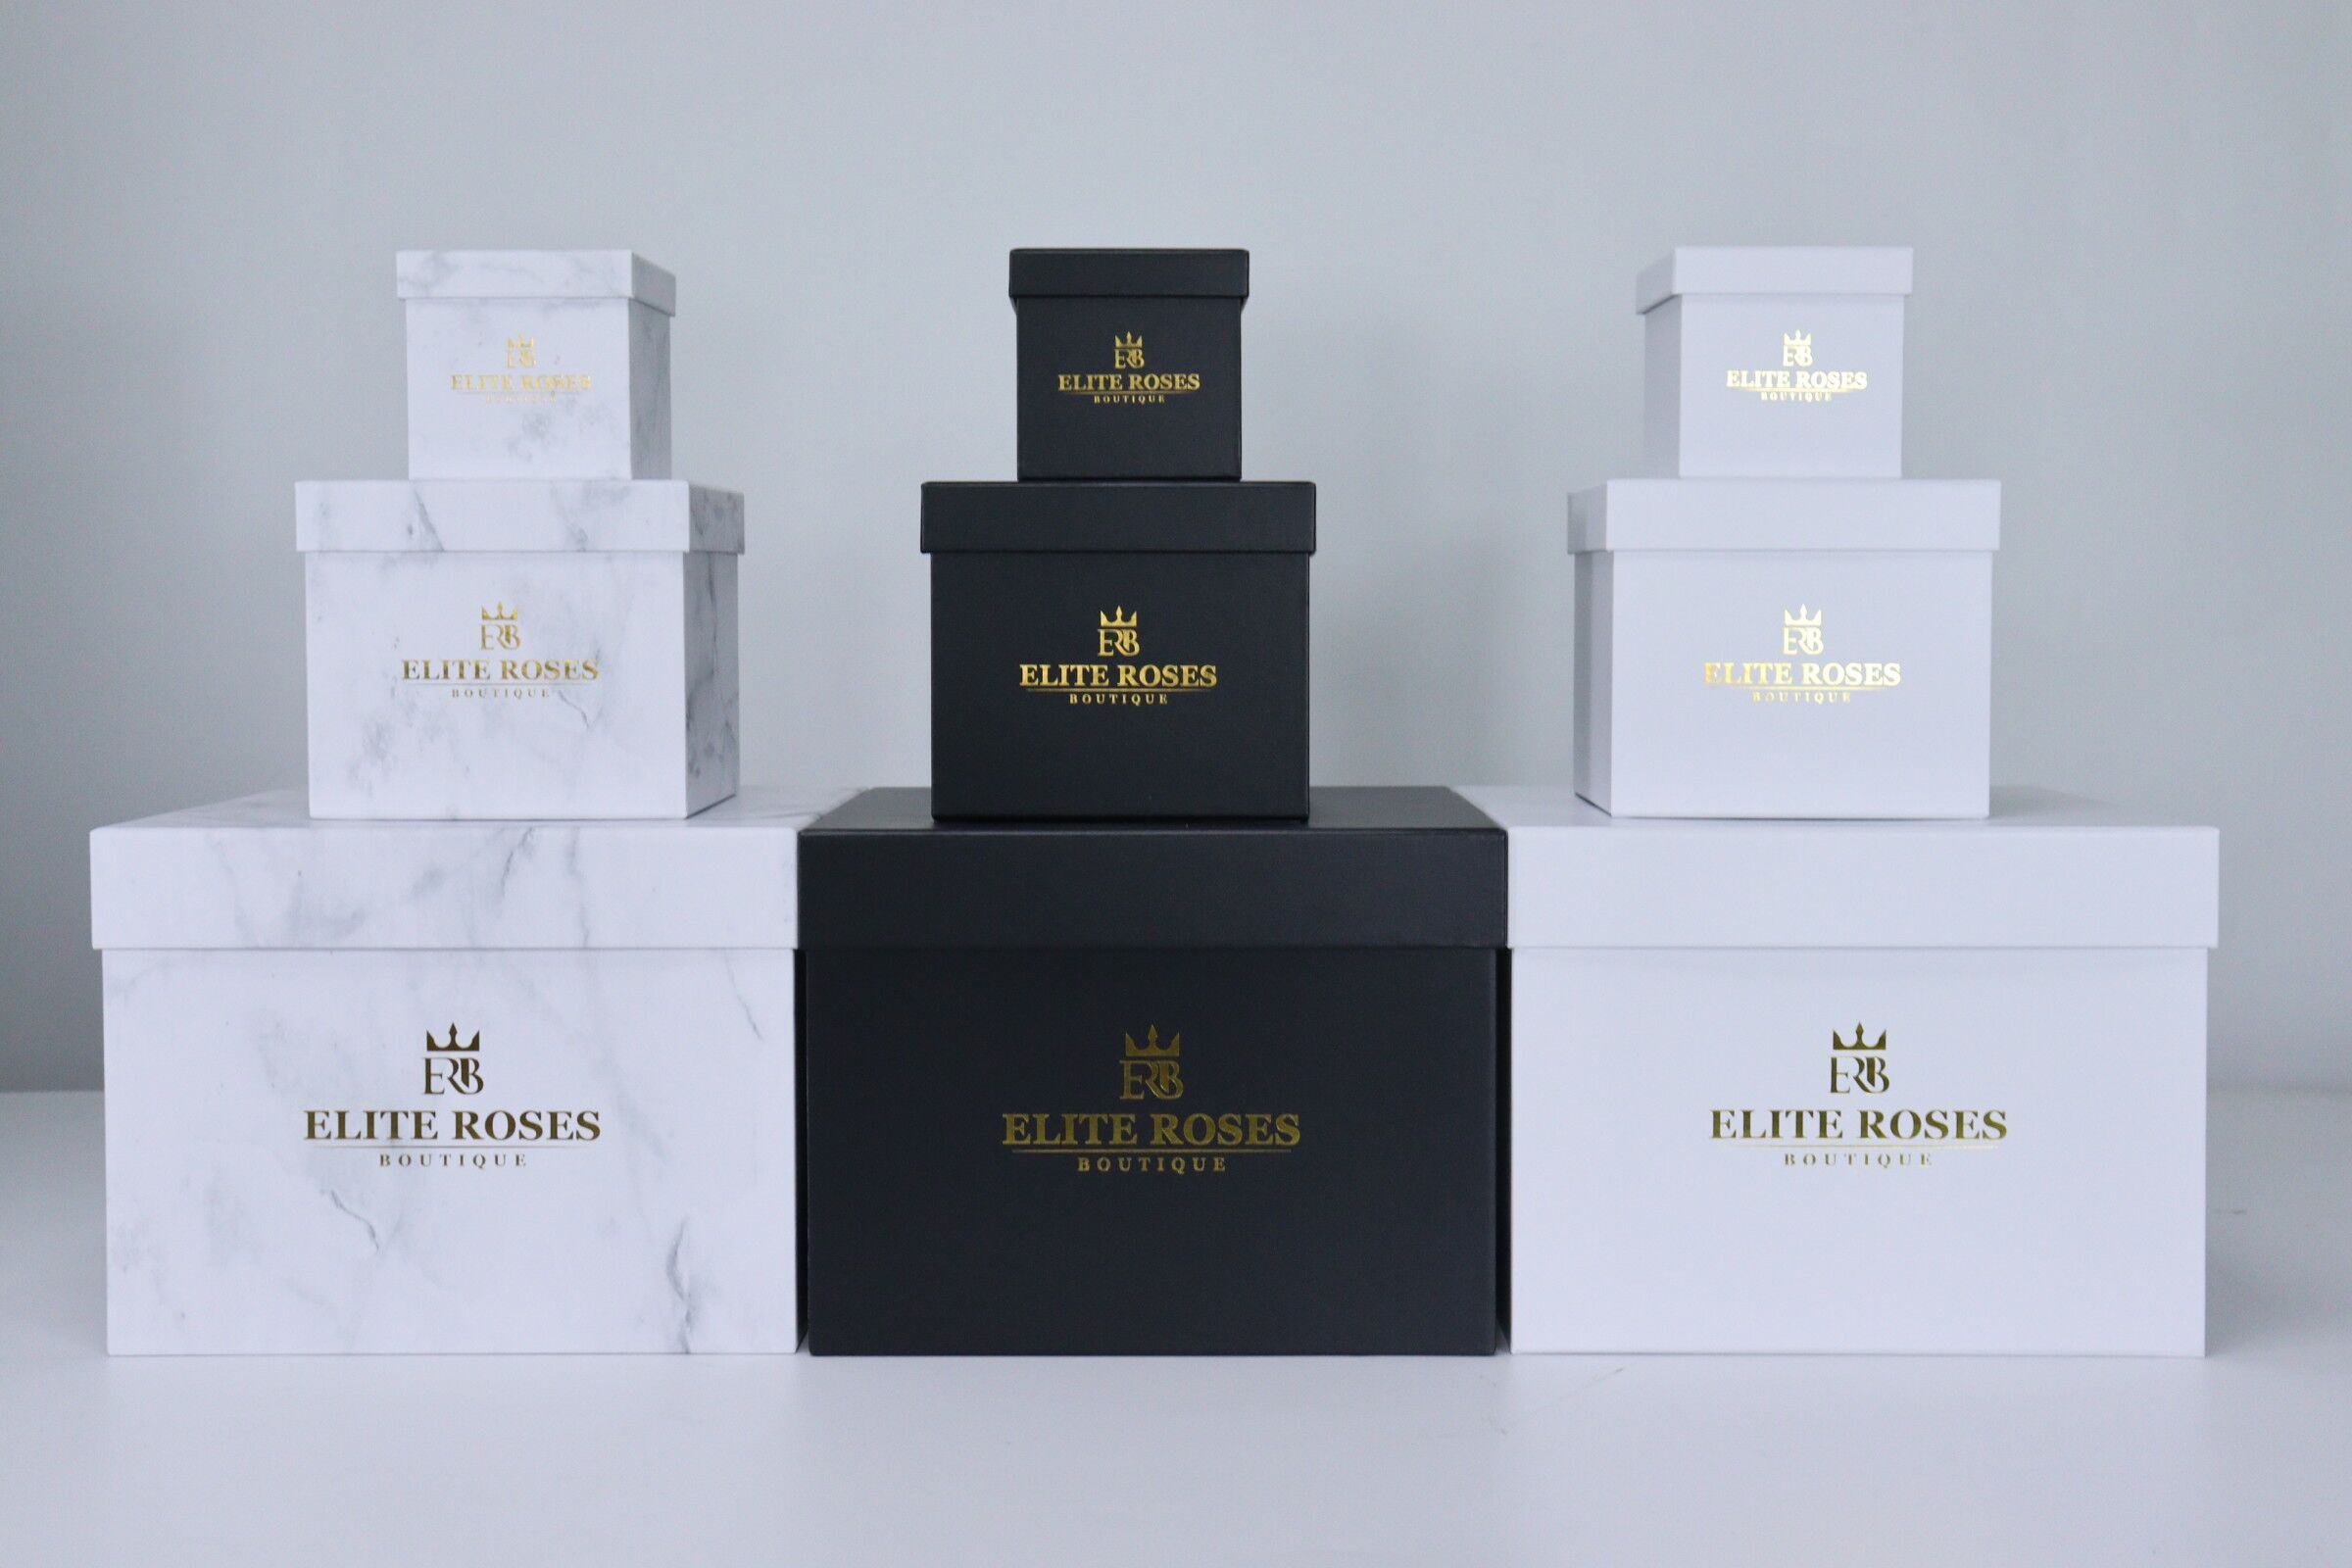
1. Variety of Designs: Suppliers provide boxes in multiple styles and colors to suit any occasion—perfect for gifts or events.
2. Durability: Quality materials ensure that your arrangements stay secure during transport.
3. Cost Efficiency: Wholesale options can save money for florists and hobbyists alike.
4. Customization Options: Many suppliers allow customization for branding or special events—ideal for florists looking to create a cohesive brand image.
When selecting a flower paper box supplier, consider factors such as:
- Reputation: Look for reviews or testimonials from other customers.
- Product Range: Ensure they offer boxes suitable for different types of arrangements.
- Pricing Structure: Compare prices among suppliers but be cautious about compromising quality for cost.
Building a wooden window flower box is not only a rewarding DIY project but also an excellent way to beautify your home. By following these steps and utilizing quality materials from a flower paper box supplier, you can create stunning floral displays that enhance any space while making them easy to transport or gift.
Incorporating this beautiful feature into your home allows you not only to enjoy nature but also adds value and charm to your living environment.
---
1. What type of wood is best for outdoor flower boxes?
- Cedar and redwood are ideal due to their natural resistance to rot.
2. How do I ensure my flower box lasts?
- Use waterproof sealants and paints to protect against moisture.
3. Can I use plastic instead of wood?
- Yes, plastic flower boxes are available but may not have the same aesthetic appeal as wood.
4. How often should I water my plants in a window box?
- Watering frequency depends on plant types and weather conditions; check soil moisture regularly.
5. Where can I find affordable floral packaging?
- Look for wholesale suppliers specializing in floral packaging solutions.
When planning your window flower box project, it's important to take local weather conditions into account:
If you live in an area with heavy rainfall, ensure that you have adequate drainage holes drilled into your flower box as previously mentioned. You might also want to consider elevating your flower box slightly off its mounting surface using small feet made from scrap wood or rubber pads—this allows excess water to escape more easily.
In hot climates, it's crucial to choose heat-tolerant plants that can withstand direct sunlight without wilting quickly. Additionally, consider adding mulch on top of the soil within your flower box; this helps retain moisture during hot days while also reducing weed growth.
Your window flower box can change with seasons! Here's how you can adapt:
During these warmer months, opt for vibrant annual flowers that bloom beautifully throughout summer—like marigolds or zinnias—to create an eye-catching display.
As temperatures drop, consider planting hardy perennials such as pansies or ornamental cabbages which provide color even in cooler months. You may also want to replace some soil with fresh compost before replanting each season—this ensures nutrient-rich soil conducive to healthy plant growth year-round.
Once you've mastered basic construction techniques, feel free to get creative! Here are some ideas:
Customize colors based on seasonal themes—pastels in springtime or warm hues during autumn! You could even stencil designs onto surfaces before sealing them—adding unique flair!
Consider attaching decorative brackets or adding trellises if you're looking into climbing plants like sweet peas or morning glories—they'll add vertical interest!
For evening enjoyment outdoors—or simply enhancing aesthetics—you could integrate solar-powered fairy lights around edges; this creates magical ambiance after sunset!
Creating an attractive wooden window flower box is not just about aesthetics; it's about bringing life into our living spaces through nature's beauty! By following these detailed steps along with maintenance tips outlined above—and considering sourcing quality packaging from reputable suppliers—you'll set yourself up successfully both as an amateur gardener and creative decorator!


