- All
- Product Name
- Product Keyword
- Product Model
- Product Summary
- Product Description
- Multi Field Search
Views: 202 Author: XianDa Publish Time: 2024-12-05 Origin: Site

Content Menu
>> Design Ideas
>> Incorporating Jewelry Factory Concepts
>> Visual Aids
>> Additional Tips for Maintenance
>>> 1. What type of wood is best for making a medicine box?
>>> 2. How can I ensure my medicine stays organized?
>>> 3. Can I repurpose an old box for this project?
>>> 4. How often should I check my medicine supplies?
>>> 5. What additional features can I add to my medicine box?
>> Conclusion
Creating a medicine box is a practical and rewarding DIY project that can help you organize your medications and ensure easy access when needed. This guide will walk you through the steps to make your own medicine box, including materials, construction techniques, and design ideas. Additionally, we will explore how this project can tie into the jewelry manufacturing process, particularly in terms of organization and storage.

To create a functional and aesthetically pleasing medicine box, you will need the following materials:
- Wooden Box: A sturdy base for your medicine box. You can purchase a pre-made wooden box or construct one from scratch.
- Balsa Wood Strips: For creating dividers within the box to separate different types of medications.
- Craft Knife: To cut the balsa strips to size.
- Wood Glue: To secure the dividers in place.
- Varnish or Paint: To finish the exterior of the box, making it both durable and visually appealing.
- Vinyl Sticker Sheets: For labeling compartments within the box.
- Printable Labels: You can create or download templates for labeling different sections of your medicine box.
Select a wooden box that fits your needs. The dimensions should be large enough to hold all your medications while allowing for dividers. A common size is approximately 35x35x17 cm. If you prefer a more customized approach, consider building a box from scratch using plywood or solid wood boards. This allows you to tailor the dimensions and design according to your specific requirements.
Using the craft knife, cut balsa wood strips to create dividers. The number of compartments will depend on how you want to organize your medications (e.g., by type, frequency of use). For example, you might want separate sections for daily vitamins, prescription medications, over-the-counter drugs, and first aid supplies.
When cutting the balsa strips, ensure that they are slightly shorter than the height of the box so they fit snugly without protruding above the edges. A good practice is to measure and mark your cuts with a pencil before slicing to ensure accuracy.
- Apply wood glue to the bottom of each divider strip.
- Position the strips inside the wooden box according to your desired layout.
- Allow the glue to dry completely before proceeding. This could take several hours; be patient to ensure a strong bond.
If you're feeling creative, consider adding decorative elements like carved designs or stenciled patterns on the exterior of the box before applying varnish or paint. This adds a personal touch and can make your medicine box more visually appealing.
- Once the dividers are dry, apply varnish or paint to the outside of the box for protection and aesthetics.
- After drying, use vinyl sticker sheets to label each compartment clearly (e.g., pain relievers, first aid supplies).
For an extra layer of protection against spills or moisture, consider lining the inside of each compartment with adhesive felt or fabric. This not only protects your medications but also adds a soft touch that can prevent items from sliding around inside.
Place your medications into their respective compartments based on your labeling system. This organization will make it easier to find what you need quickly. Additionally, consider keeping a small notebook inside the box where you can jot down expiration dates or notes about each medication.
You can customize your medicine box in several ways:
- Paint Designs: Use stencils or freehand painting techniques to add designs that match your home decor. You could paint flowers, geometric patterns, or even motivational quotes that inspire health and wellness.
- Decorative Hardware: Add decorative knobs or handles for an elegant touch. Consider using antique-style hardware for a vintage look or sleek modern handles for a contemporary feel.
- Personalized Labels: Create custom labels using a label maker for a more professional look. You might also consider color-coding labels based on medication types (e.g., blue for pain relievers, green for vitamins).
Incorporating ideas from jewelry manufacturing can enhance your medicine box project:
- Storage Efficiency: Just as jewelry makers must efficiently store various components (like beads and clasps), consider how you can maximize space in your medicine box with thoughtful compartmentalization. Using small containers within larger compartments can help keep similar items together without cluttering.
- Quality Materials: Use high-quality materials similar to those used in jewelry making, such as durable woods and finishes that withstand wear over time. Look for non-toxic paints and varnishes if safety is a concern, especially if children are around.
- Attention to Detail: Just as precision is crucial in jewelry crafting, ensure that all cuts are clean and labels are legible for easy access. Consider using a laser cutter if available; this can provide clean edges and intricate designs that elevate your project.
To complement this guide, here are some suggested visuals:
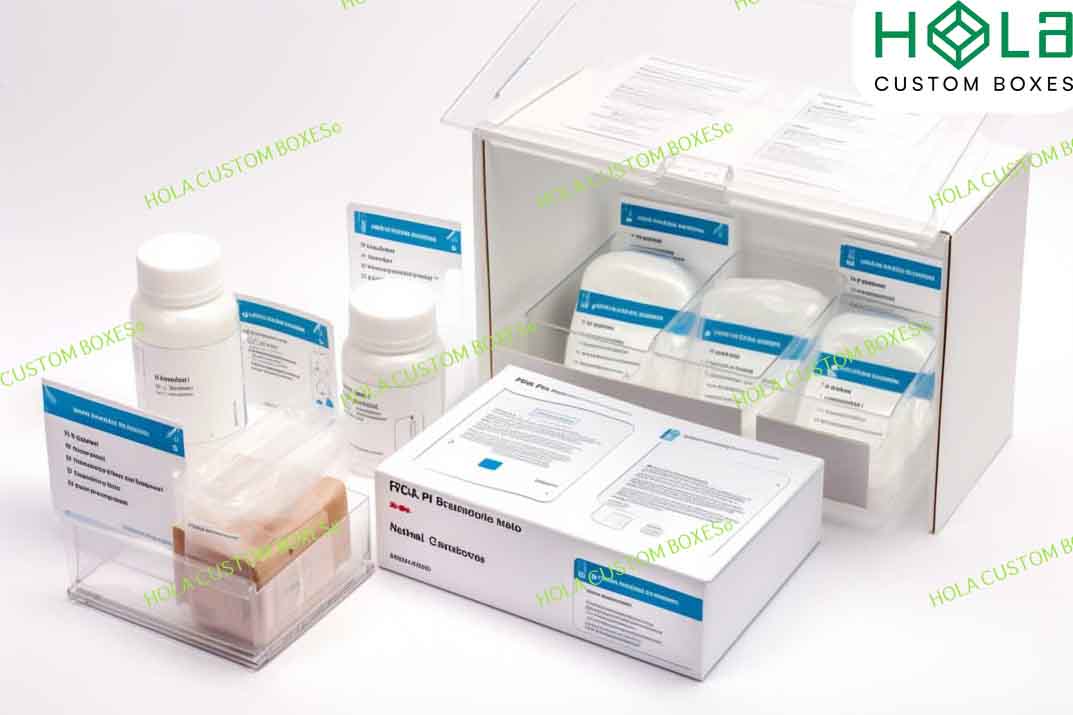
1. Images of different types of wooden boxes suitable for this project.
2. Diagrams showing how to cut and assemble dividers within the box.
3. Photos of finished medicine boxes with various designs and organizational styles.
4. Videos demonstrating the assembly process and creative design ideas.
To keep your medicine box functioning optimally:
- Regularly check expiration dates on medications every few months.
- Clean out any expired items promptly.
- Reorganize as necessary when new medications are added or when old ones are removed.
Consider creating an inventory list that details what medications are stored in each compartment along with their expiration dates. This list can be kept inside the lid of the box or taped on an interior wall for easy reference.
Here are some common questions regarding DIY medicine boxes along with their answers:
Choose hardwoods like oak or maple for durability, but softwoods like pine can also work well if treated properly.
Use clear labels and consider color-coding compartments based on medication types or usage frequency.
Absolutely! Upcycling an old wooden box is an excellent way to save money and reduce waste while adding personal flair.
Regularly check every few months to discard expired medications and restock essentials.
Consider adding a lock for safety if children are present or incorporating a small first aid kit section within the box.
Creating your own medicine box not only helps organize medications but also adds a personal touch to your home decor. By applying principles from jewelry manufacturing regarding organization and quality materials, you can create an efficient storage solution that meets your needs while reflecting your style.


