- All
- Product Name
- Product Keyword
- Product Model
- Product Summary
- Product Description
- Multi Field Search

Content Menu
● Choosing the Right Materials
● Step-by-Step Construction Process
>> 1. Measure and Cut the Wood
>> 4. Add the Finishing Touches
● Preparing Your Flower Box for Planting
>> 2. Add a Plastic Liner (Optional)
● Flower Paper Box Factory Considerations
Building a flower box is a rewarding DIY project that can enhance the beauty of your home's exterior. Whether you're looking to add charm to your windows, deck, or patio, a well-crafted flower box can make a significant impact. In this comprehensive guide, we'll walk you through the process of creating your own flower box, from selecting materials to planting your favorite blooms.
Before you begin construction, it's essential to select the appropriate materials for your flower box. Cedar and redwood are popular choices due to their natural resistance to decay and insects. However, if you're on a budget, pressure-treated lumber can also be a good option. For a more modern look, you might consider using PVC or composite materials.

Cedar planks for flower box
When selecting wood, pay attention to its grade and moisture content. Choose straight boards without knots or warping to ensure your flower box maintains its shape over time. If you're opting for pressure-treated lumber, allow it to dry completely before construction to prevent shrinkage.
Gather the following tools before starting your project:
- Miter saw or circular saw
- Drill with various drill bits
- Measuring tape
- Pencil
- Sandpaper (various grits)
- Wood glue
- Screwdriver
- Safety glasses and work gloves
- Level
- Clamps
- Wood filler
- Paintbrush or foam roller (if painting)
Having all these tools ready will streamline your building process and ensure you can complete the project efficiently.
Begin by measuring and cutting your wood to the desired dimensions. For a standard window box, you'll need:
- Two long side pieces
- Two short end pieces
- One bottom piece
- Optional: Top trim pieces for a finished look
Cutting wood for flower box
When measuring, consider the width of your window or the space where you'll place the box. A typical window box is about 6-8 inches deep and 6-8 inches wide, with the length matching the width of your window. Add an extra inch to the length for overhang if desired.
Start by attaching the end pieces to the side pieces. Apply wood glue to the joints and secure them with screws. Make sure to pre-drill holes to prevent the wood from splitting.

Use clamps to hold the pieces together while you drill and screw. This ensures a tight fit and prevents the wood from shifting during assembly. For added strength, consider using corner brackets on the inside of the box.
Once the frame is assembled, attach the bottom piece. If you're using solid wood, drill several drainage holes to prevent water accumulation. Alternatively, you can leave small gaps between the bottom boards for drainage.
When attaching the bottom, make sure it's flush with the edges of the frame. Use wood glue and screws to secure it firmly. If you're creating drainage gaps, aim for about 1/4 inch between boards.
Sand any rough edges and apply a weather-resistant finish to protect the wood. If desired, add decorative trim or paint the box to match your home's exterior.
Finished flower box
For a professional look, use wood filler to cover any visible screw heads or imperfections. Once dry, sand the filled areas smooth before applying your finish. If painting, use an exterior-grade primer before applying your chosen color.
Before adding soil and plants, it's crucial to ensure proper drainage and protection against moisture.
Line the interior of your flower box with landscape fabric to prevent soil from escaping through drainage holes while allowing water to pass through. Cut the fabric slightly larger than the box interior and staple it in place, ensuring it covers all drainage holes or gaps.
For added protection against moisture, especially for wooden boxes, consider adding a plastic liner. Make sure to puncture holes in the liner that align with the drainage holes in the box. This extra layer helps prolong the life of your wooden flower box by preventing direct contact with moist soil.
Now comes the fun part – planting your flowers! Follow these tips for a beautiful and thriving flower box:
1. Use high-quality potting soil designed for container gardening. Avoid using garden soil, which can become compacted and hinder drainage.
2. Choose a variety of plants with different heights and textures. Remember the "thriller, filler, spiller" rule:
- Thriller: Tall, eye-catching plants (e.g., ornamental grasses, tall flowering plants)
- Filler: Medium-height plants to add volume (e.g., petunias, geraniums)
- Spiller: Trailing plants to cascade over the edges (e.g., ivy, lobelia)
Planting flowers in a box
3. Consider the light conditions where your flower box will be placed and select plants accordingly. For sunny locations, choose sun-loving plants like marigolds or petunias. For shaded areas, opt for shade-tolerant plants like impatiens or begonias.
4. Water regularly, especially during hot weather. Container plants dry out faster than those in the ground, so check soil moisture daily.
5. When planting, gently loosen the root balls of your plants to encourage root growth into the new soil. Place taller plants towards the back or center of the box, with shorter and trailing plants towards the front and edges.
To keep your flower box looking its best:
- Water consistently, checking soil moisture daily during warm months. Use your finger to test the top inch of soil – if it's dry, it's time to water.
- Fertilize every 2-4 weeks with a balanced, water-soluble fertilizer. Follow the package instructions for proper dilution and application.
- Deadhead spent blooms to encourage continuous flowering. This not only keeps your flower box looking tidy but also promotes more blooms throughout the season.
- Replace seasonal plants as needed to maintain year-round interest. Consider planting spring bulbs in fall, switching to summer annuals, then transitioning to cold-hardy plants for winter.
- Regularly inspect your flower box for signs of pests or disease. Early detection and treatment can prevent major issues.
Get creative with your flower box designs:
1. Vertical Flower Boxes: Maximize space by creating a vertical garden using stacked flower boxes. This is perfect for small patios or balconies.
Vertical flower boxes
2. Herb Garden Box: Combine beauty and functionality by planting herbs in your flower box. Popular choices include basil, parsley, thyme, and chives.
3. Succulent Box: For a low-maintenance option, create a flower box filled with various succulents. These drought-tolerant plants come in a wide range of shapes and colors.
4. Window Box with Solar Lights: Add solar-powered lights to your window box for a charming evening glow. This creates a magical ambiance and highlights your plants after dark.

5. Seasonal Themed Boxes: Change your flower box plantings with the seasons for year-round appeal. Use spring bulbs, summer annuals, fall chrysanthemums, and winter evergreens.
6. Butterfly and Bee Friendly Box: Create a mini pollinator garden by choosing flowers that attract butterflies and bees. Include plants like lavender, echinacea, and lantana.
7. Edible Flower Box: Plant a mix of edible flowers and herbs for a beautiful and functional display. Nasturtiums, pansies, and borage are all edible and attractive.
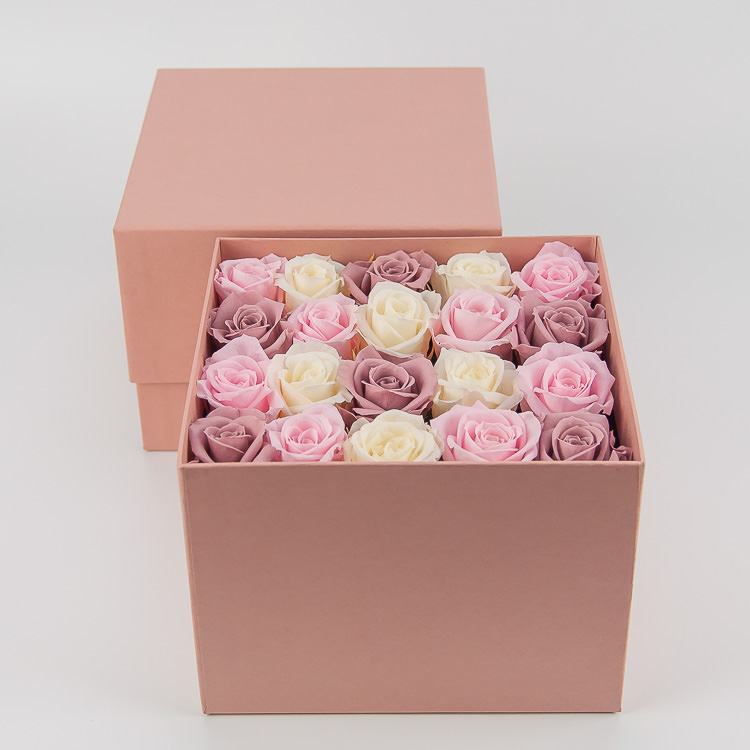
While this guide focuses on building wooden flower boxes, it's worth noting that flower paper boxes are becoming increasingly popular for temporary or portable displays. If you're interested in mass-producing flower boxes, consider exploring the flower paper box factory industry. These factories specialize in creating eco-friendly, biodegradable flower boxes that are perfect for events, gifts, or temporary installations.
Flower paper boxes
Flower paper box factories often use innovative techniques to create sturdy yet lightweight boxes that can hold water and support plants for short periods. These boxes can be customized with various designs, colors, and sizes to suit different needs.
For those interested in large-scale production or unique design options, partnering with a flower paper box factory could be an excellent alternative to traditional wooden boxes. These factories can often provide bulk orders at competitive prices, making them ideal for florists, event planners, or businesses looking to offer eco-friendly packaging options.
Some advantages of flower paper boxes include:
- Biodegradability: Unlike plastic or wooden boxes, paper boxes decompose naturally, reducing environmental impact.
- Customization: Paper boxes can be easily printed with logos, patterns, or messages, making them perfect for branding or special events.
- Lightweight: Ideal for shipping or transporting plants without adding significant weight.
- Cost-effective: Often cheaper to produce in large quantities compared to wooden boxes.
However, it's important to note that paper boxes are not suitable for long-term planting and are best used for temporary displays or gift packaging.
Building your own flower box is a satisfying project that can greatly enhance your home's curb appeal. By following these steps and tips, you'll be well on your way to creating beautiful floral displays that will delight you and your neighbors for years to come. Whether you choose to build a traditional wooden box or explore options from a flower paper box factory, the result will be a charming addition to your outdoor space.
Remember to consider factors like sunlight, water drainage, and plant selection to ensure your flower box thrives. With proper care and maintenance, your DIY flower box will provide a stunning display of colors and textures throughout the seasons, adding life and beauty to your home's exterior.
1. Q: How deep should a flower box be?
A: A flower box should typically be 8-12 inches deep to provide adequate room for roots to grow. Deeper boxes (12-16 inches) are better for larger plants or vegetables.
2. Q: What type of wood is best for outdoor flower boxes?
A: Cedar and redwood are excellent choices for outdoor flower boxes due to their natural resistance to decay and insects. Pressure-treated lumber is a more budget-friendly option but may require additional sealing.
3. Q: How do I prevent my wooden flower box from rotting?
A: To prevent rotting, ensure proper drainage, use a plastic liner, apply a water-resistant sealant to the wood, and elevate the box slightly to allow airflow underneath.
4. Q: Can I use a flower paper box for long-term planting?
A: Flower paper boxes from a flower paper box factory are typically designed for temporary use. While they can hold plants for short periods, they are not suitable for long-term planting and may degrade over time when exposed to constant moisture.
5. Q: How often should I water my flower box?
A: Watering frequency depends on the plants, climate, and season. Generally, check the soil moisture daily and water when the top inch of soil feels dry. During hot summer months, you may need to water daily or even twice a day.


