- All
- Product Name
- Product Keyword
- Product Model
- Product Summary
- Product Description
- Multi Field Search
Views: 201 Author: XianDa Publish Time: 2024-12-17 Origin: Site

Content Menu
● How to Make a Wood Flower Box
>> 1. Measure and Cut the Wood
● Advanced Techniques for Wood Flower Boxes
>> Built-in Irrigation Systems
● Flower Paper Box Factory Alternatives
>> Benefits of Flower Paper Boxes
>> Choosing a Flower Paper Box Factory
>> Sustainability in Flower Paper Box Production
● Combining Wood and Paper: Hybrid Flower Boxes
● FAQs
Creating a beautiful wood flower box is a rewarding DIY project that can enhance your outdoor space and showcase your favorite blooms. This comprehensive guide will walk you through the process of building your own wood flower box, from selecting materials to adding the finishing touches. Whether you're a seasoned woodworker or a beginner, this project is accessible and customizable to suit your needs.
Before you begin, gather the following materials:
- Cedar or pressure-treated lumber (1x6 boards for sides, 2x4 for bottom support)
- Wood screws
- Wood glue
- Sandpaper (80-grit and 120-grit)
- Wood stain or paint (optional)
- Waterproof sealant
- Drill and drill bits
- Saw (circular saw or miter saw)
- Measuring tape
- Pencil
- Safety gear (goggles, gloves, dust mask)
Cedar is an excellent choice for outdoor projects due to its natural resistance to rot and insects. However, pressure-treated lumber is a more budget-friendly option that also offers good durability.


Begin by measuring and cutting your wood to the desired dimensions. For a standard-sized flower box, you might use these measurements:
- Four 1x6 boards cut to 24 inches for the long sides
- Four 1x6 boards cut to 12 inches for the short sides
- Two 2x4 boards cut to 11 inches for bottom support
Cutting wood for flower box
Sand all the cut pieces with 80-grit sandpaper, followed by 120-grit for a smoother finish. This step helps prevent splinters and creates a better surface for staining or painting.
Start by assembling the long sides of the box. Apply wood glue to the edges of two 24-inch boards and stack them. Secure with wood screws every 6 inches. Repeat for the other long side.
Next, attach the short sides in the same manner, creating a rectangle.
Assembling flower box sides
Attach the 2x4 support pieces to the inside bottom of the box, about 1 inch from the bottom edge. These will support the bottom of the planter and allow for drainage.
Drill several 1/2-inch drainage holes in the bottom of the box to prevent water from pooling.
If desired, stain or paint your flower box. Once dry, apply a waterproof sealant to protect the wood from moisture.
Applying finish to flower box


Cut a piece of 1x6 lumber to fit the inside bottom of the box. Drill drainage holes in this piece as well, and place it on top of the support pieces.
Once you've mastered the basic construction, consider these customization ideas:
- Add decorative trim or molding to the top edge
- Paint patterns or stencil designs on the sides
- Attach casters for a mobile planter
- Create a tiered design for a cascading effect
Customized flower box designs
After your wood flower box is complete, it's time to add plants:
1. Line the box with landscape fabric to help retain soil.
2. Fill with a high-quality potting mix.
3. Choose plants that suit your climate and the box's location.
4. Water regularly and fertilize as needed.
Remember to periodically check the wood for signs of wear and reapply sealant as necessary to prolong the life of your flower box.
For those looking to take their wood flower box construction to the next level, consider these advanced techniques:
Instead of relying solely on screws, explore different joinery methods to create stronger and more aesthetically pleasing connections:
1. Dovetail Joints: These interlocking joints provide excellent strength and a beautiful, traditional look.
2. Finger Joints: Similar to dovetails but easier to create, finger joints offer good strength and a decorative edge.
3. Mortise and Tenon: This classic woodworking joint is strong and can be used to join the sides of your flower box.
Advanced joinery techniques
Add a touch of elegance to your flower box by incorporating inlay or marquetry designs:
1. Create simple geometric patterns using contrasting wood species.
2. Inlay a family name or meaningful date into the side of the box.
3. Design a floral motif that complements the plants you intend to grow.
For a more sophisticated and low-maintenance flower box, consider integrating an irrigation system:
1. Install a small water reservoir at one end of the box.
2. Use porous pipe or drip irrigation tubing to distribute water evenly.
3. Add a float valve to the reservoir for automatic refilling.
This system can help ensure your plants receive consistent moisture, especially during hot summer months.
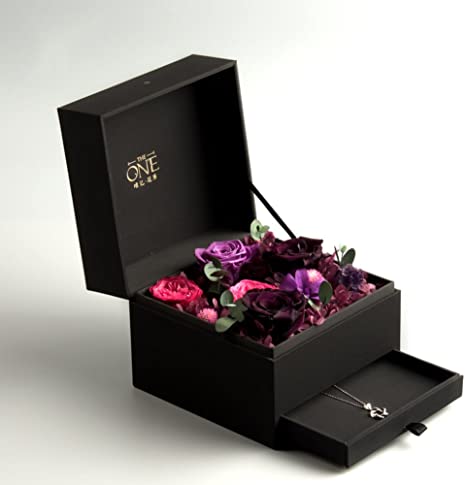
While building your own wood flower box is a great DIY project, sometimes you might need a quicker or more portable solution. This is where flower paper boxes from a specialized factory can come in handy. Flower paper box factories offer a wide range of options for florists, event planners, and individuals looking for elegant packaging for floral arrangements.
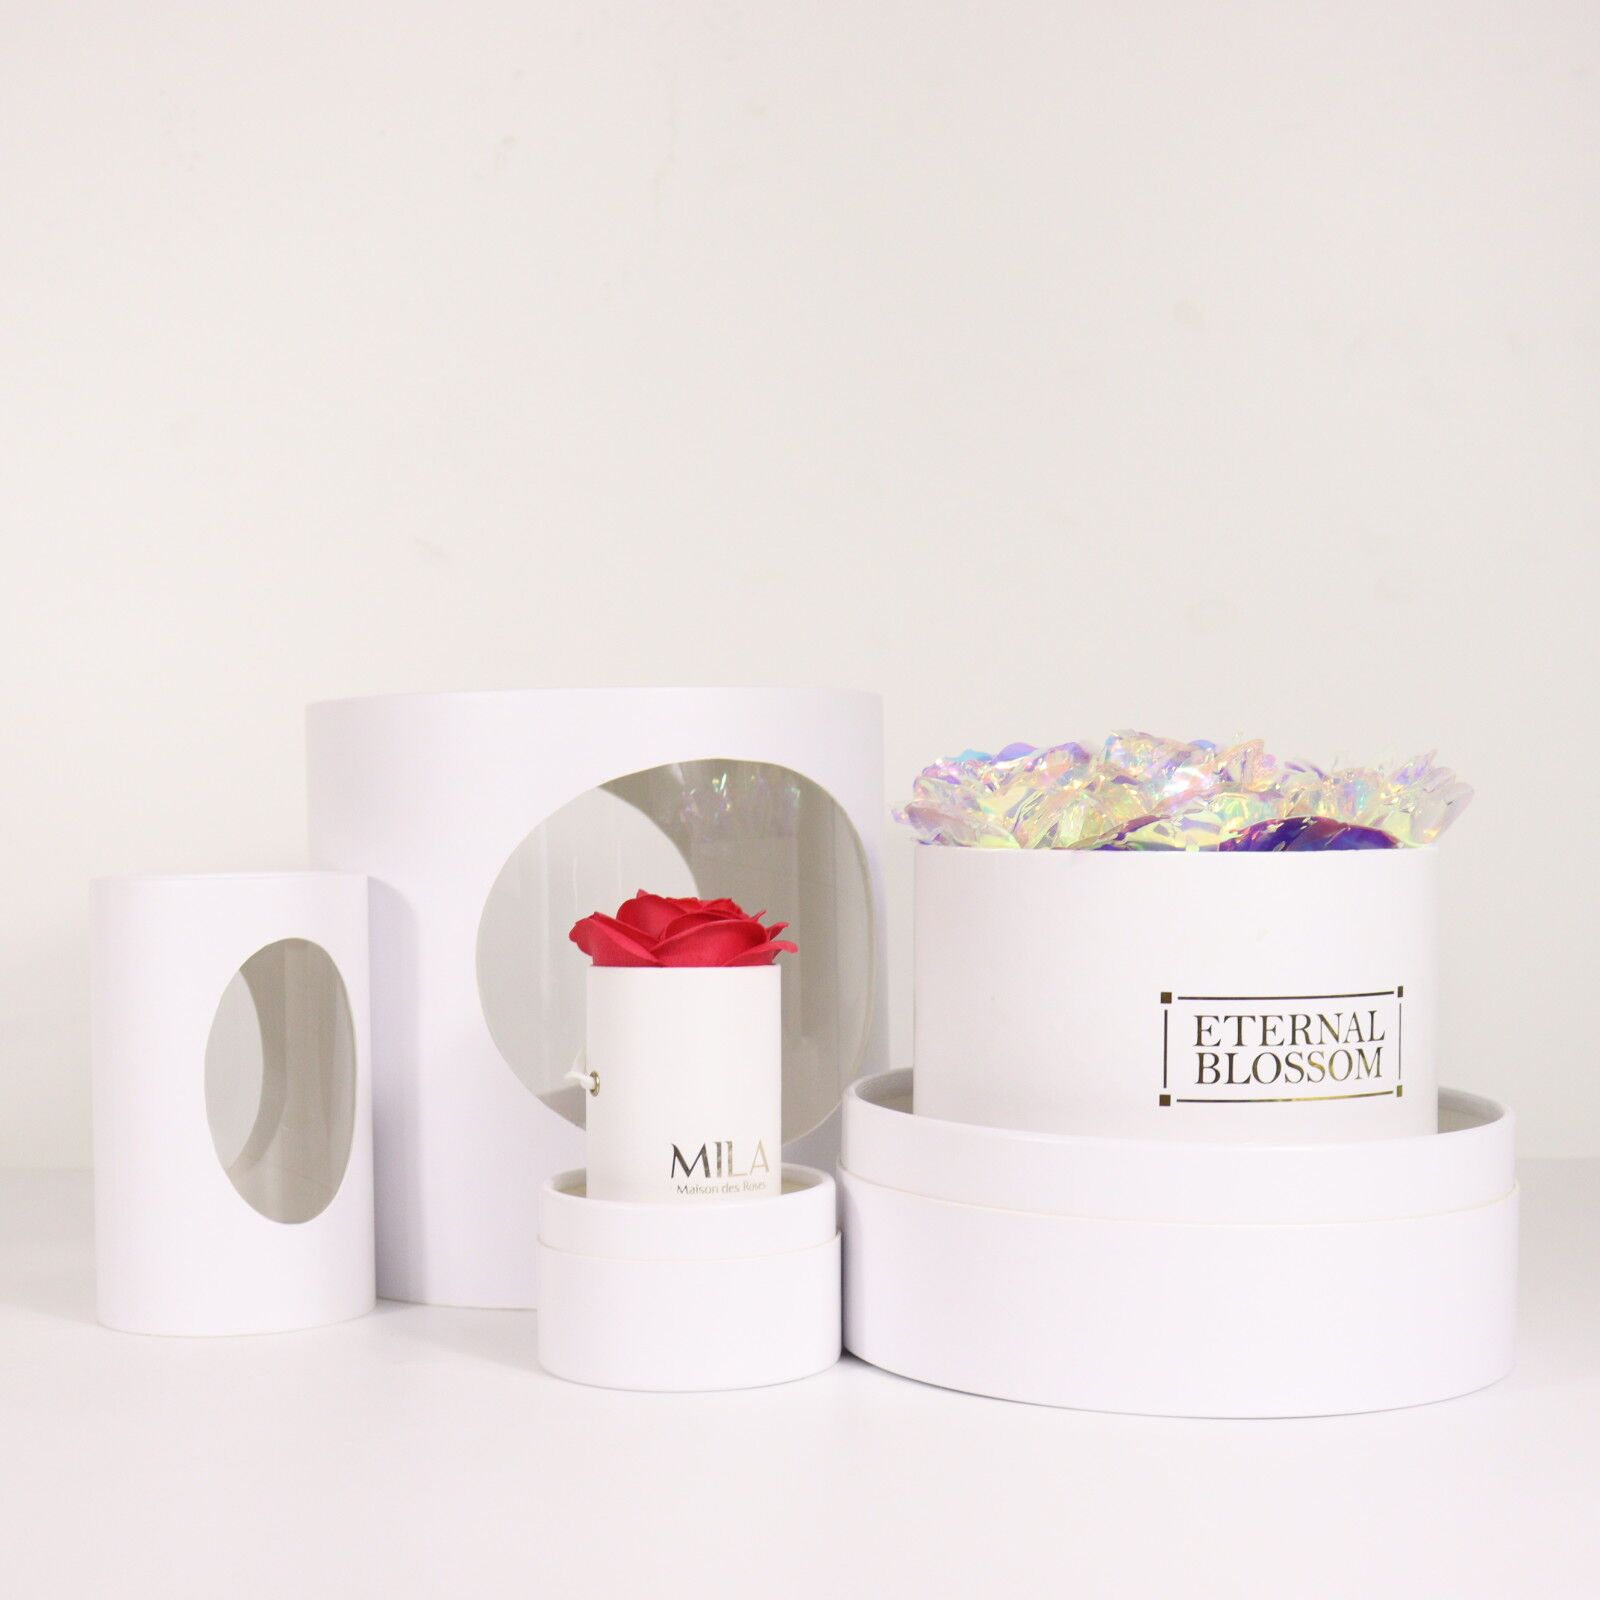

- Lightweight and easy to transport
- Available in various sizes and designs
- Often more affordable than custom wood boxes
- Ideal for gift-giving and special occasions
Flower paper boxes
When selecting a flower paper box factory, consider the following:
1. Quality of materials used
2. Customization options available
3. Minimum order quantities
4. Eco-friendly practices
5. Shipping and delivery times
Many flower paper box factories offer wholesale pricing for bulk orders, making them an excellent option for businesses in the floral industry.
As environmental concerns grow, many flower paper box factories are adopting sustainable practices:
1. Recycled Materials: Look for factories that use recycled paper and cardboard in their products.
2. Biodegradable Coatings: Some factories offer boxes with biodegradable water-resistant coatings.
3. Soy-based Inks: These inks are more environmentally friendly than traditional petroleum-based options.
4. Energy-efficient Production: Advanced factories use energy-efficient machinery and processes to reduce their carbon footprint.
By choosing a flower paper box factory that prioritizes sustainability, you can ensure that your floral packaging aligns with eco-friendly values.
For those who appreciate both the durability of wood and the versatility of paper, consider creating hybrid flower boxes:
1. Wood Base with Paper Inserts: Construct a sturdy wood base and use interchangeable paper inserts for different occasions.
2. Paper-Wrapped Wood Boxes: Build a basic wood box and wrap it with decorative paper from a flower paper box factory for a customizable look.
3. Wood-Reinforced Paper Boxes: Use thin wood strips to reinforce high-quality paper boxes, combining strength and style.
These hybrid solutions offer the best of both worlds, allowing for long-lasting use with the option to change the appearance easily.
Whether you choose to build your own wood flower box, opt for paper boxes from a flower paper box factory, or explore hybrid options, each approach provides beautiful ways to display and transport floral arrangements. The DIY wood flower box offers a personalized touch and long-lasting durability, while paper boxes from a factory provide convenience and versatility for various occasions. By understanding the benefits and techniques associated with each option, you can select the perfect solution for your floral display needs.
1. Q: How long does it take to build a wood flower box?
A: With all materials prepared, building a basic wood flower box typically takes 2-4 hours, depending on your skill level and the complexity of the design.
2. Q: Can I use reclaimed wood for my flower box?
A: Yes, reclaimed wood can be used, but ensure it's free from harmful chemicals and is still structurally sound.
3. Q: How often should I reseal my wood flower box?
A: It's recommended to reseal your wood flower box annually or whenever you notice the sealant starting to wear off.
4. Q: What are the advantages of using a flower paper box from a factory?
A: Flower paper boxes are lightweight, come in various designs, and are often more cost-effective for single-use or short-term needs.
5. Q: How do I choose the right size flower box for my plants?
A: Consider the mature size of your plants and their root systems. Generally, allow for at least 2 inches of space around each plant for proper growth.


