- All
- Product Name
- Product Keyword
- Product Model
- Product Summary
- Product Description
- Multi Field Search

Content Menu
● Tools
● Step 3: Create the Chocolate Shell
● Step 5: Fill Your Chocolate Box
● Decorating Your Chocolate Box
● The Chocolate Manufacturing Process
Creating a chocolate box is a delightful project that combines creativity and culinary skills. Whether you want to impress someone special or simply indulge in a fun crafting session, making your own chocolate box can be a rewarding experience. This guide will walk you through the steps of making an edible chocolate box, while also exploring the fascinating processes involved in chocolate manufacturing at a chocolate box factory.
Chocolate: You can use milk, dark, or white chocolate depending on your preference.
Candy molds: Heart-shaped or any other shape you desire.
Baking paper: To prevent sticking.
Optional fillings: Truffles, candies, or any treats you like.
Microwave-safe bowls: For melting chocolate.
Spatula: For spreading chocolate.
Plastic sheets: To create the box mold.
Refrigerator: For setting the chocolate.
Thermometer: To check the temperature of melted chocolate (optional but recommended).
Piping bags: For decorating or filling chocolates.
Start by cutting out the sides and lid of your chocolate box from thin but firm plastic sheets. These will serve as the mold for your chocolate box. Ensure that they are clean and dry before using them. If you want to get creative, consider using silicone molds shaped like hearts, stars, or other fun designs.
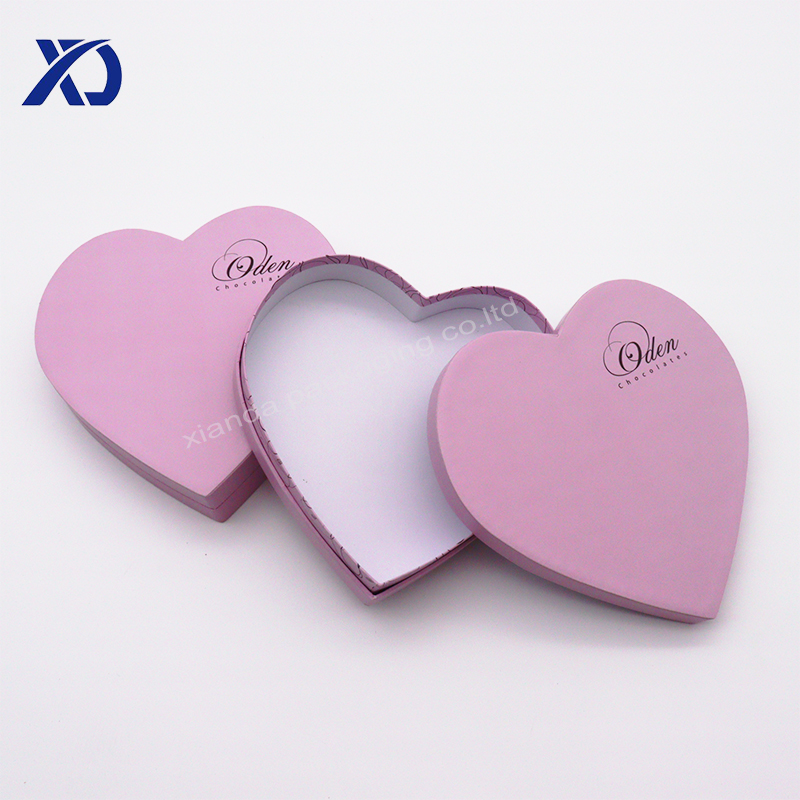
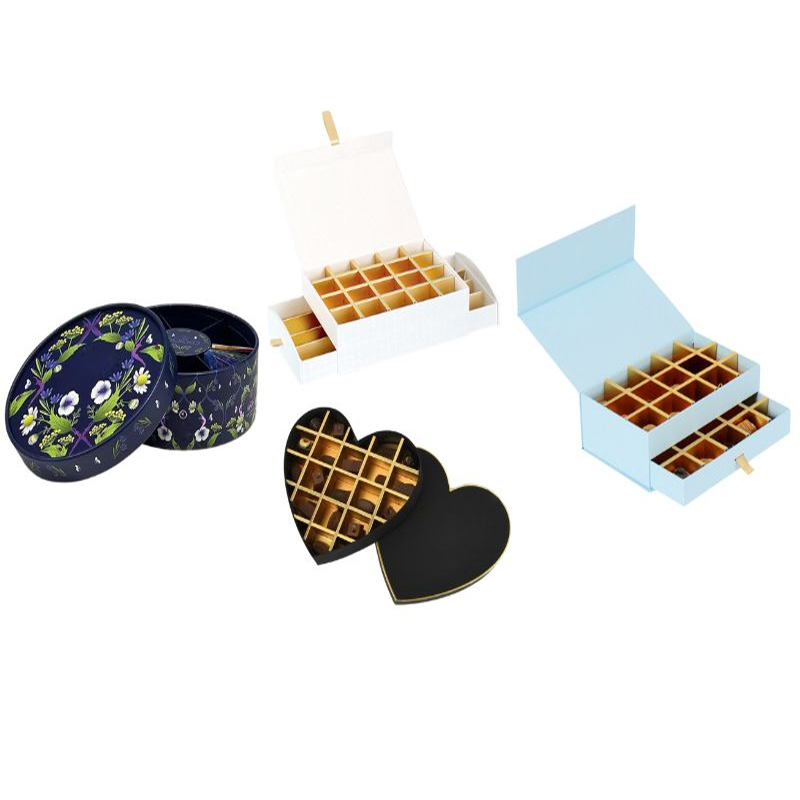
Melt your chosen chocolate in a microwave-safe bowl. Heat it in intervals of 30 seconds, stirring in between until smooth and fully melted. If you're using multiple types of chocolate (e.g., dark and white), melt them separately.
Use a thermometer to ensure the chocolate reaches the ideal melting temperature (approximately 110°F for dark chocolate and 105°F for milk and white).
Avoid moisture getting into the chocolate as it can cause it to seize.
Cover the Mold: Place baking paper on your work surface. Lay your plastic mold on top and pour melted chocolate over it, ensuring it completely covers the mold edges.
Set the Chocolate: Allow the chocolate to cool slightly before moving it to a clean area on the baking paper. Let it set until firm; this usually takes about 10 minutes in the refrigerator.
For a sturdier box, consider creating multiple layers. After the first layer sets, apply another layer of melted chocolate over it and let it harden again.
Once the shell is set, carefully peel away the plastic to reveal your chocolate shell.
For added strength, you can apply another layer of melted chocolate around the edges and let it harden again.
Fill your newly created chocolate box with assorted chocolates, truffles, or any sweet treats you desire. You can also add decorative elements like edible glitter or sprinkles for extra flair.
To finish off your chocolate box, create a lid using additional melted chocolate poured into another mold. Once set, place it on top of your filled box.
Once your box is assembled, it's time to get creative with decorations! Here are some ideas:
Chocolate Drizzle: Melt some contrasting chocolate (like white if you used dark) and drizzle it over the top of your box for an elegant touch.
Nuts and Fruits: Press chopped nuts or dried fruits into the surface before it sets for added texture and flavor.
Ribbons and Bows: Wrap a pretty ribbon around your finished box for an attractive presentation.
Personalized Tags: Create tags with messages or names to add a personal touch.
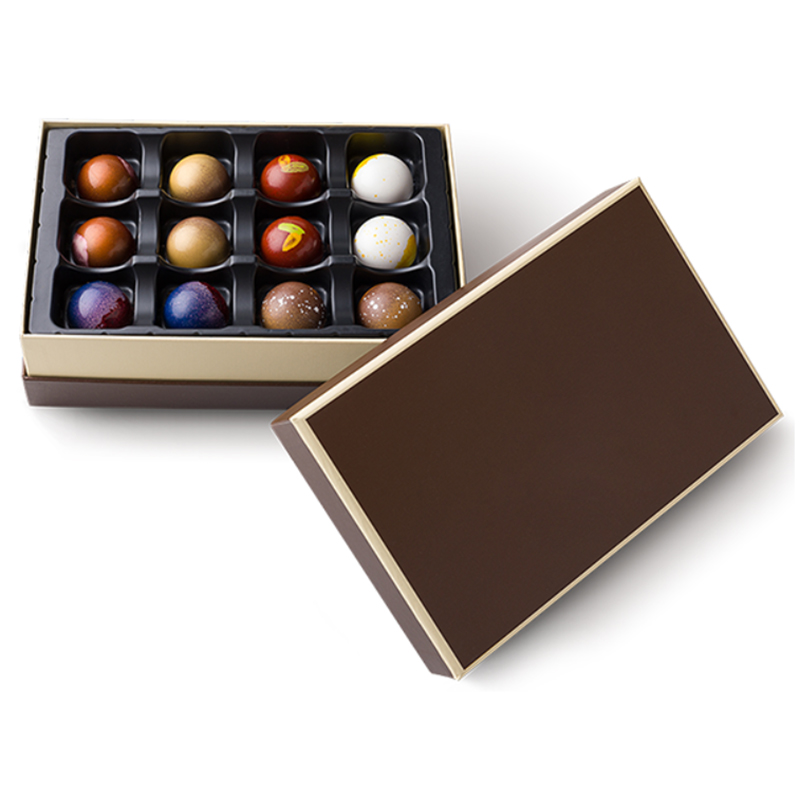
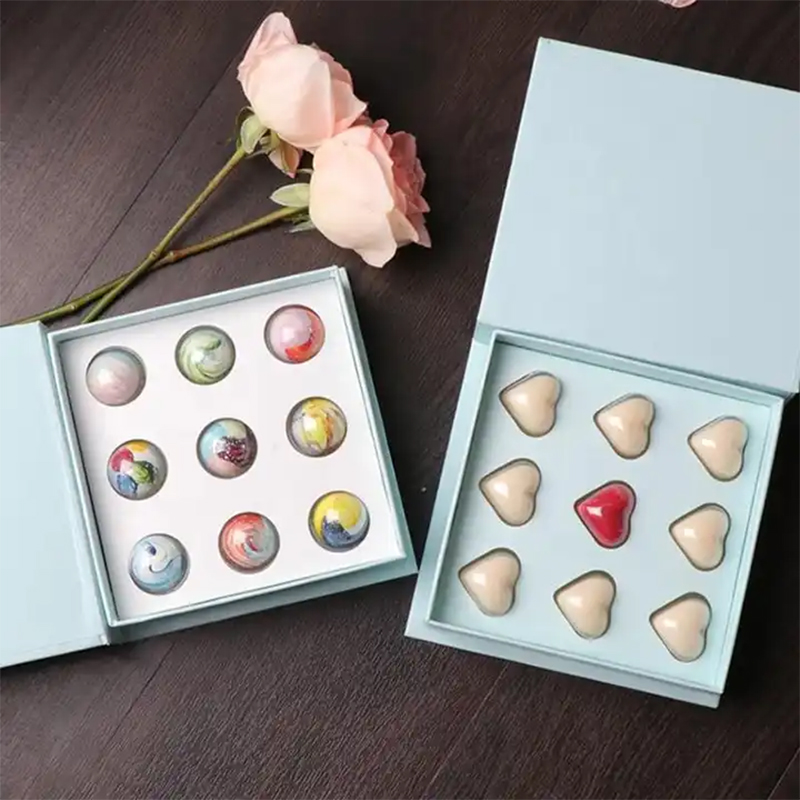
Understanding how a chocolate box factory operates can enhance your appreciation for this sweet treat. Here’s an overview of the key stages involved in manufacturing chocolate:
Raw Material Pretreatment: Cocoa beans are cleaned and roasted to develop flavor.
Mixing: Ingredients like cocoa liquor, sugar, and milk powder are combined according to specific recipes.
Grinding: The mixture is finely ground to achieve a smooth texture.
Conching: This process refines flavor and texture by continuously mixing and aerating the chocolate.
Tempering: The chocolate is cooled and reheated to stabilize cocoa butter crystals for a glossy finish.
Molding: Finally, melted chocolate is poured into molds to create various shapes and products.
These processes ensure that every piece of chocolate produced is of high quality and has an appealing texture and taste.
To further enrich your knowledge about chocolate, here are some fun facts:
Chocolate History: Chocolate has been enjoyed for thousands of years; ancient civilizations like the Aztecs used cocoa beans as currency!
Health Benefits: Dark chocolate is known for its potential health benefits, including antioxidants that may improve heart health.
World Production: The majority of cocoa beans come from West Africa, particularly Côte d'Ivoire (Ivory Coast) and Ghana.
Chocolate Varieties: There are several types of chocolates—dark, milk, white, ruby—and each has its unique flavor profile based on its ingredients.
Chocolate Festivals: Many cities around the world celebrate their love for chocolate with festivals featuring tastings, workshops, and demonstrations.
What type of chocolate is best for making a chocolate box?
Tempered dark or milk chocolate works best as it holds its shape well at room temperature.
Can I use any type of mold for my chocolate box?
Yes, as long as they are clean and non-stick; silicone molds work particularly well.
How long does it take for the chocolate to set?
Typically about 10-15 minutes in the refrigerator should suffice.
What can I fill my chocolate box with?
You can fill it with truffles, candies, nuts, or any small treats that fit inside.
How should I store my finished chocolate box?
Keep it in a cool place or refrigerate if necessary to prevent melting.
Can I make a vegan version of my chocolate box?
Absolutely! Use dairy-free chocolates made from cocoa solids and plant-based ingredients.
How do I know when my melted chocolate is tempered correctly?
Properly tempered chocolate will have a shiny appearance and snap when broken rather than being soft or dull.
Is it possible to make flavored chocolates?
Yes! You can infuse flavors by adding extracts (like vanilla or almond) or incorporating spices (like cinnamon or chili) into your melted chocolate.
What should I do if my melted chocolate seizes?
If this happens due to moisture exposure, try adding a small amount of vegetable oil or cocoa butter to help restore its consistency.
Can I use leftover melted chocolate?
Yes! You can pour leftover melted chocolate into molds to create simple chocolates or use them as decorative elements later on.
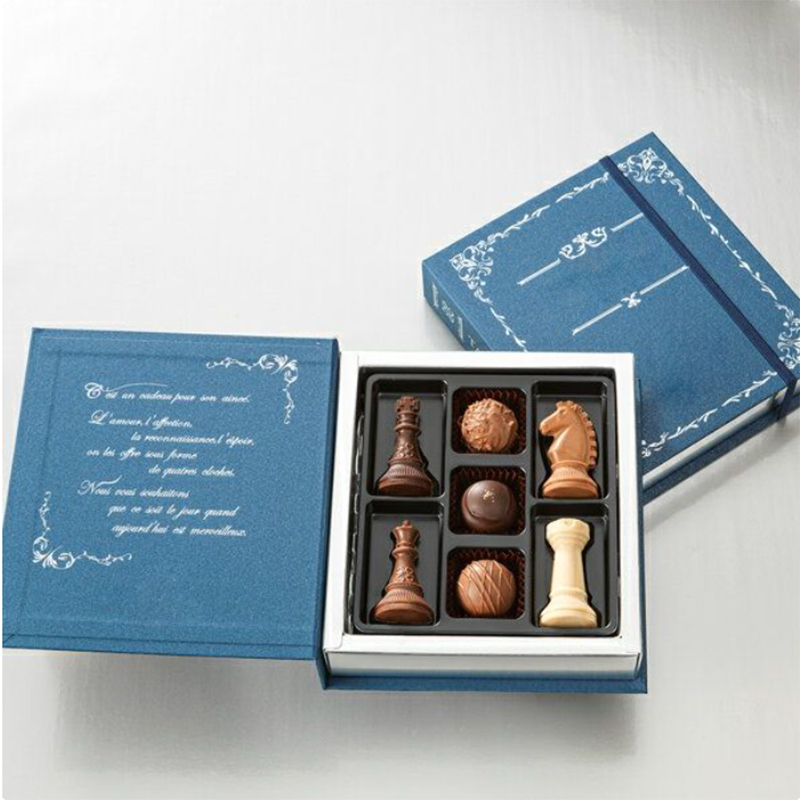
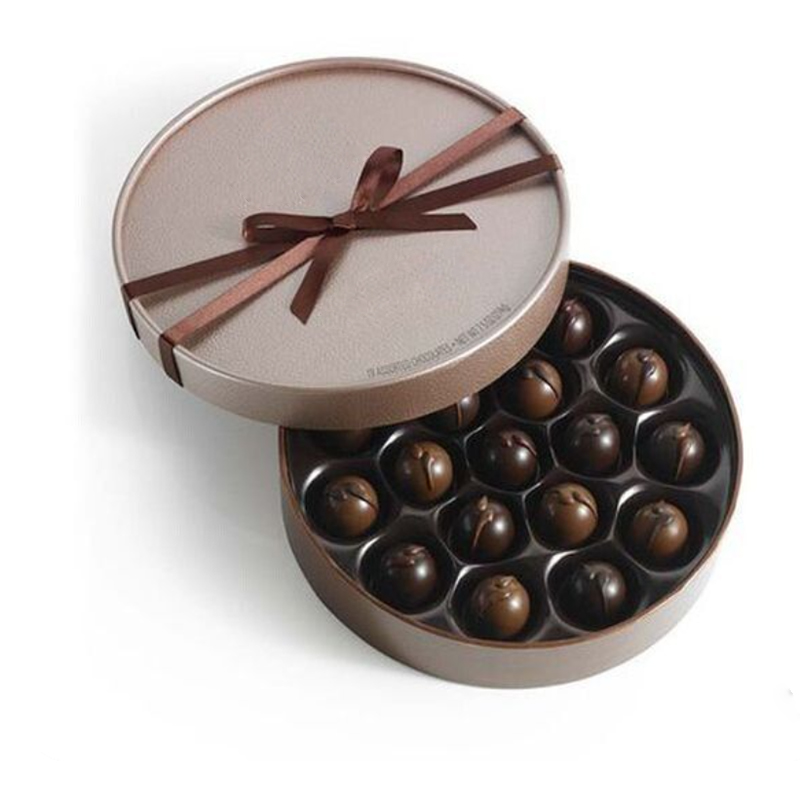
Making a homemade chocolate box is not only fun but also allows for personalization that store-bought options lack. By following these steps and understanding some basics about how chocolates are produced in a factory setting, you can create something truly special for yourself or as a gift for others.