- All
- Product Name
- Product Keyword
- Product Model
- Product Summary
- Product Description
- Multi Field Search

Content Menu
>>> Step 1: Designing Your Box
>>> Step 2: Preparing the Base
>>> Step 3: Personalizing the Exterior
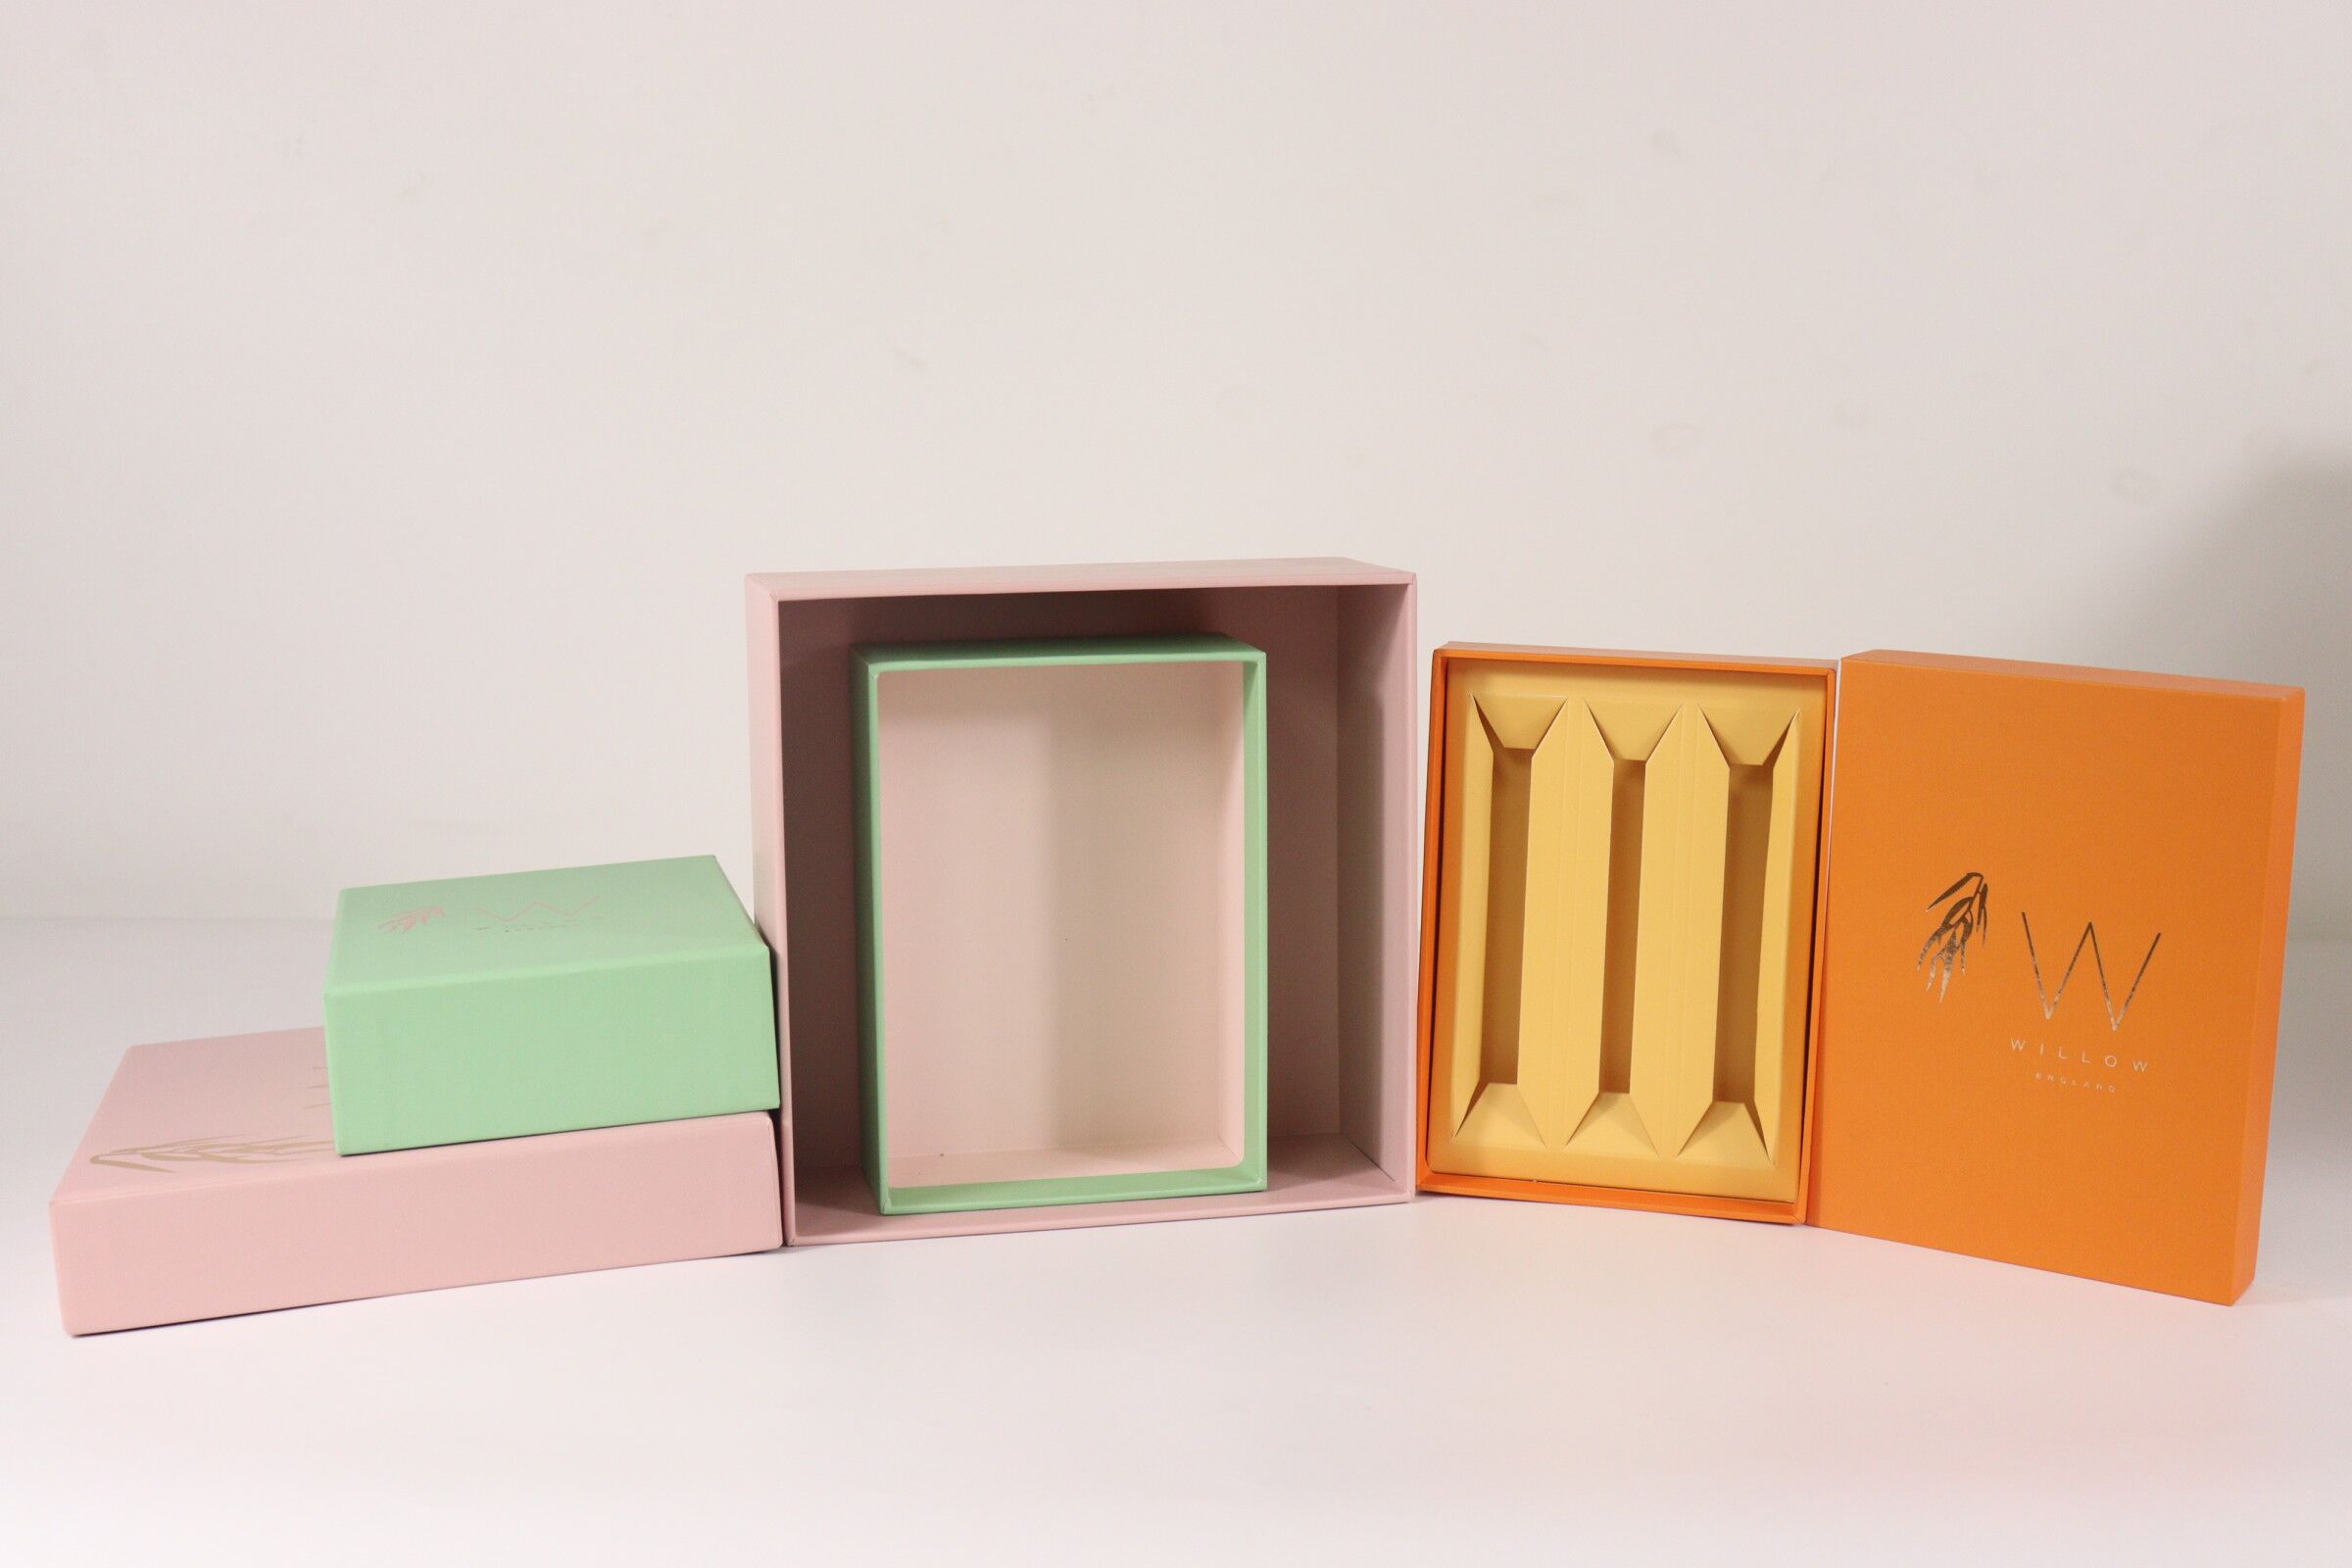
>>> Step 4: Creating Compartments
>>> Step 5: Adding Foam Inserts
>> Additional Tips for Success
>> The Role of Cosmetic Box Factories
>> Creative Ideas for Your Beauty Box
>> Conclusion
Creating a beauty box can be a fun and rewarding project, whether you're looking to organize your cosmetics or create a personalized gift for a friend. In this guide, we will walk you through the process of making a beauty box, detailing materials, steps, and tips for success. Additionally, we will explore the role of a cosmetic box factory in producing these items on a larger scale.
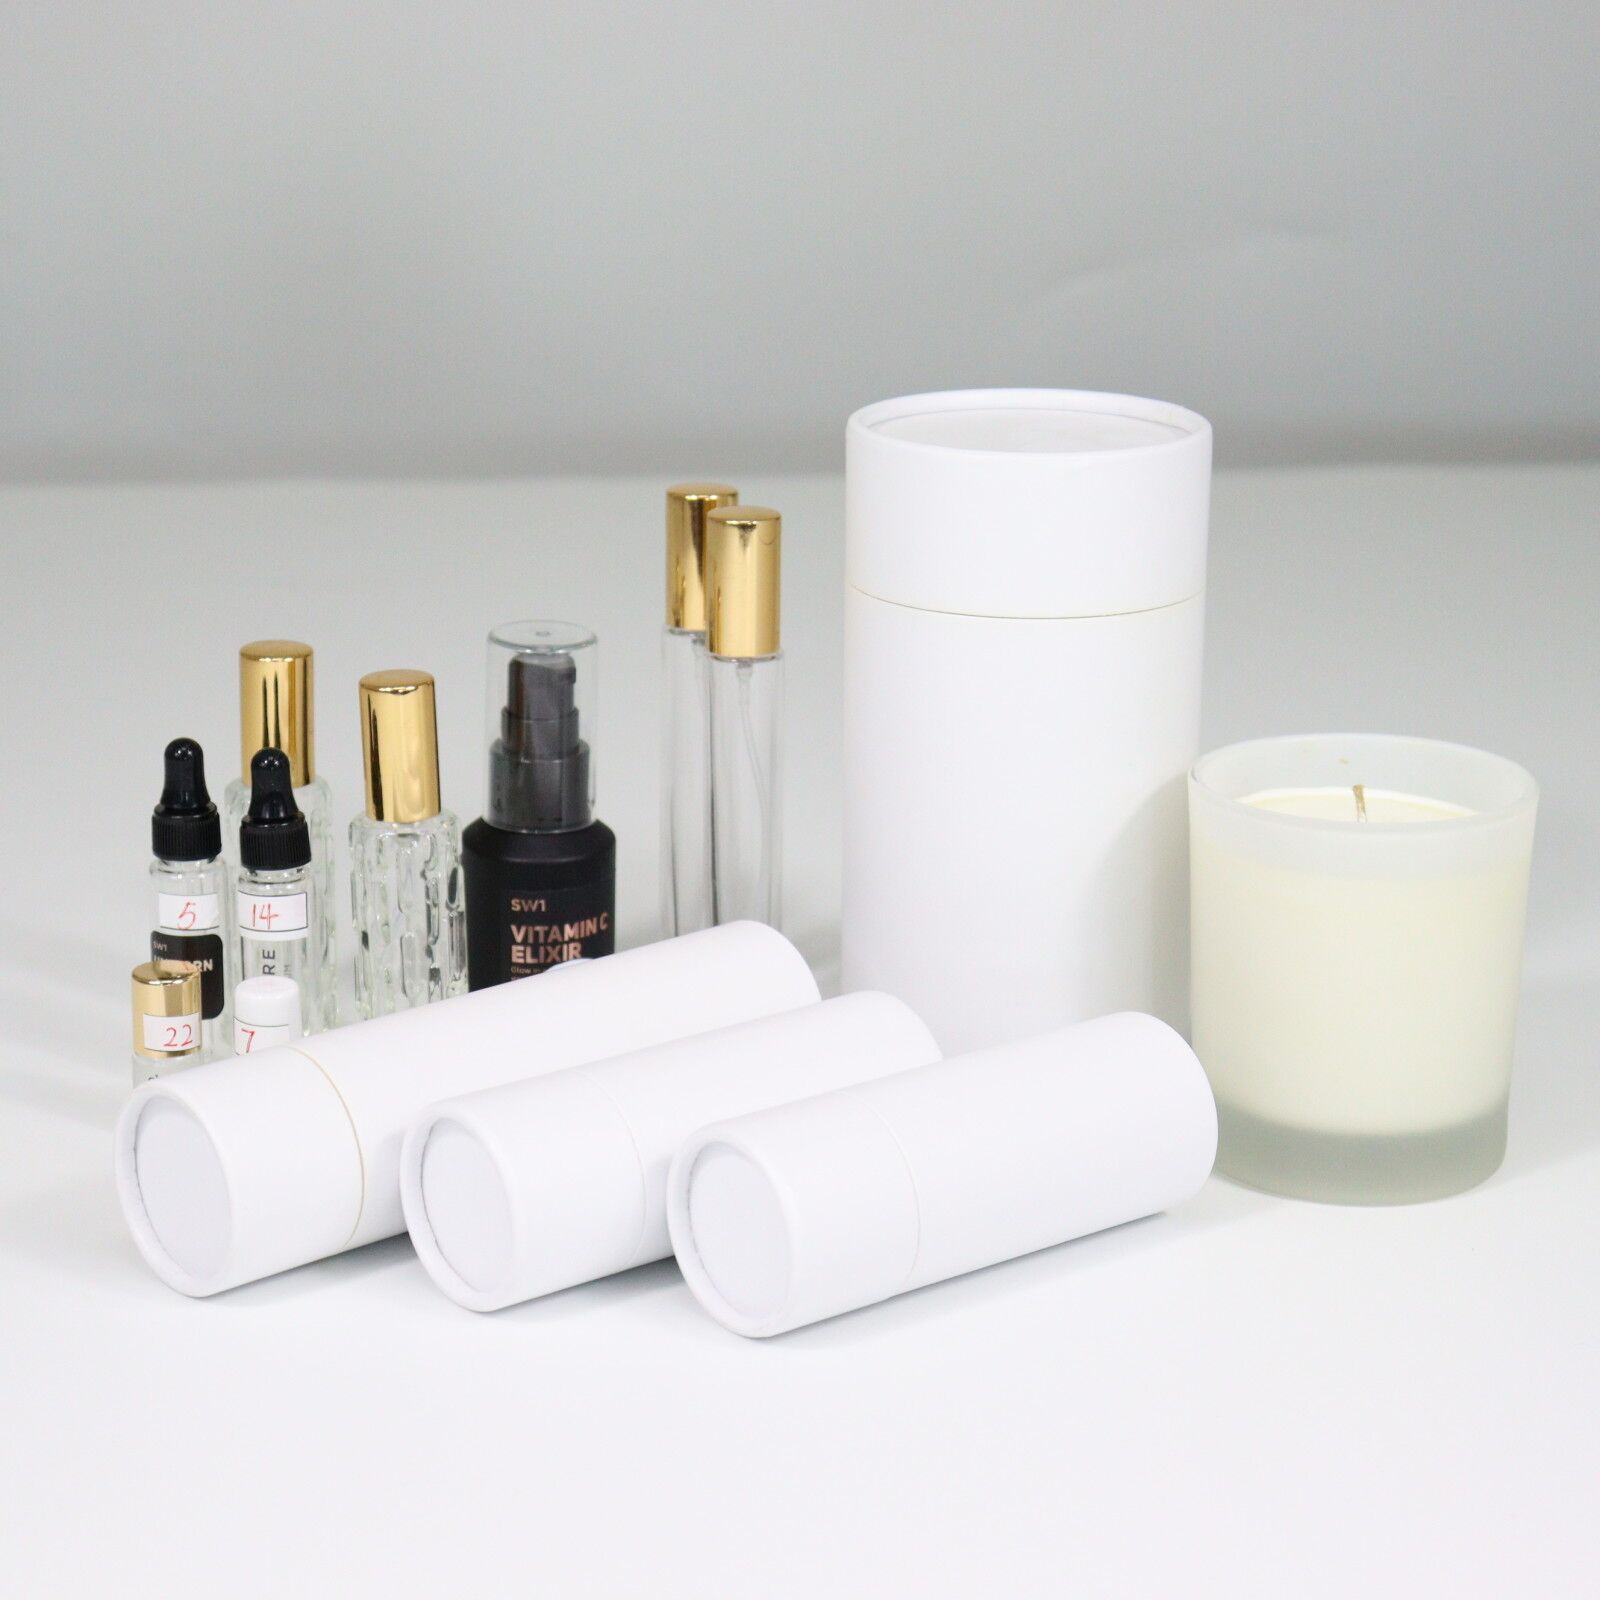
Before diving into the creation process, gather the following materials:
- Cardboard or Wooden Box: This will serve as the base of your beauty box.
- Decorative Paper or Paint: For personalizing the exterior.
- Adhesive: Glue or double-sided tape.
- Scissors or Craft Knife: For cutting materials.
- Ruler and Pencil: For measuring and marking.
- Dividers (optional): To organize products inside the box.
- Foam Inserts (optional): To protect delicate items.
- Decorative Elements: Such as stickers, ribbons, or embellishments for personal touches.
1. Choose Your Size: Decide how large you want your beauty box to be based on the products you intend to store. A standard size is about 12 inches long, 8 inches wide, and 4 inches deep. If you plan to store larger items like palettes or skincare bottles, consider increasing the dimensions accordingly.
2. Sketch Your Design: Draw a simple layout of how you want your box to look. Consider adding compartments for organization. Think about how many items you want to store and their sizes—this will help dictate your design.
1. Cut the Cardboard: Use your ruler and pencil to measure out the dimensions of your box on the cardboard. Cut out the pieces carefully with scissors or a craft knife. Ensure that your cuts are straight for a better fit.
2. Assemble the Base: Use glue or double-sided tape to attach the sides of the box together. Ensure it is sturdy and holds its shape. You might want to reinforce corners by adding extra layers of cardboard.


1. Decorate with Paper or Paint: Cover the outside of your box with decorative paper or paint it in your desired color. This adds a personal touch and makes it visually appealing. Choose colors that resonate with you or match your room decor.
2. Add Embellishments: Consider adding ribbons, stickers, or other decorative elements to enhance its appearance. You can also use washi tape for a fun border around the edges.
Decorative Beauty Box
1. Measure and Cut Dividers: If you want sections within your box, measure and cut additional pieces of cardboard to create dividers. This helps keep smaller items organized and prevents them from getting lost.
2. Secure Dividers in Place: Use glue to attach these dividers inside the box as per your design. Make sure they are evenly spaced for an aesthetically pleasing look.
1. Cut Foam to Size: If you have delicate items like glass bottles, cut foam inserts to fit snugly inside each compartment. This provides cushioning and helps prevent breakage.
2. Place Foam Inserts: Secure them in place using glue if necessary. You can also use fabric-covered foam for an added touch of elegance.
- Choose Quality Materials: If you're investing time into making a beauty box, use durable materials that will last. High-quality cardboard can withstand wear and tear better than flimsy alternatives.
- Be Creative with Designs: Don't hesitate to experiment with colors and patterns that reflect your style. Consider using stencils for intricate designs or decoupage techniques for unique textures.
- Consider Functionality: Ensure that all items fit comfortably within compartments without being overcrowded. Think about accessibility; frequently used items should be easy to reach.
- Incorporate Labels: Adding labels can help you quickly identify where everything is stored, especially if you have multiple beauty boxes.
In contrast to DIY projects, cosmetic box factories specialize in mass-producing beauty boxes using advanced machinery and techniques:
- Material Selection: Factories often use high-quality cardboard or eco-friendly materials that are both durable and attractive. Many companies are now focusing on sustainable packaging solutions due to increasing consumer demand for environmentally friendly products.
- Printing Techniques: Advanced printing methods like offset printing are employed to create vibrant designs directly on the boxes. This allows brands to showcase their logos and product information effectively.
- Customization Options: Many factories offer bespoke designs tailored to brands' specifications, allowing for unique packaging solutions that stand out on shelves.
- Quality Control Processes: Factories implement strict quality control measures throughout their production processes, ensuring that each box meets industry standards before reaching consumers.
To make your beauty box even more special, consider these creative ideas:
1. Themed Boxes:
- Create themed boxes based on seasons (spring florals, winter wonderland) or occasions (bridal shower gifts, birthday surprises).
2. Gift Sets:
- Assemble gift sets within your beauty box featuring complementary products like lipsticks paired with matching nail polishes.
3. Travel-Friendly Designs:
- Design smaller versions of beauty boxes specifically for travel purposes—compact enough to fit in luggage yet spacious enough for essentials.
4. DIY Subscription Boxes:
- Create monthly subscription-style boxes filled with different products each month—perfect for friends who love surprises!
5. Personalized Touches:
- Include handwritten notes or quotes inside each box as a personal touch that recipients will appreciate.
Making a beauty box can be an enjoyable craft project that results in a functional and beautiful storage solution for your cosmetics. Whether you choose to create one at home or order from a cosmetic box factory, understanding both processes can enhance your appreciation for these essential beauty items.
By following these steps and tips, you can create a stunning beauty box that not only serves its purpose but also showcases your creativity and personality.
---

1. What materials are best for a DIY beauty box?
- Cardboard is commonly used due to its sturdiness and ease of decoration; however, wood can provide a more premium feel if you're looking for something more durable.
2. Can I use recycled materials?
- Absolutely! Recycled cardboard can be an eco-friendly option for creating beauty boxes while reducing waste.
3. How do I ensure my beauty products stay safe?
- Use foam inserts or dividers to prevent items from moving around during transport; this is especially important for fragile products like glass containers.
4. What are some common sizes for beauty boxes?
- Standard sizes range from small (6x4x3 inches) for travel kits to larger boxes (12x8x4 inches) for home storage; consider what products you'll be storing when selecting sizes.
5. How do cosmetic box factories ensure quality?
- Factories implement strict quality control measures throughout their production processes, including material inspections and testing finished products before distribution.
---


