- All
- Product Name
- Product Keyword
- Product Model
- Product Summary
- Product Description
- Multi Field Search

Content Menu
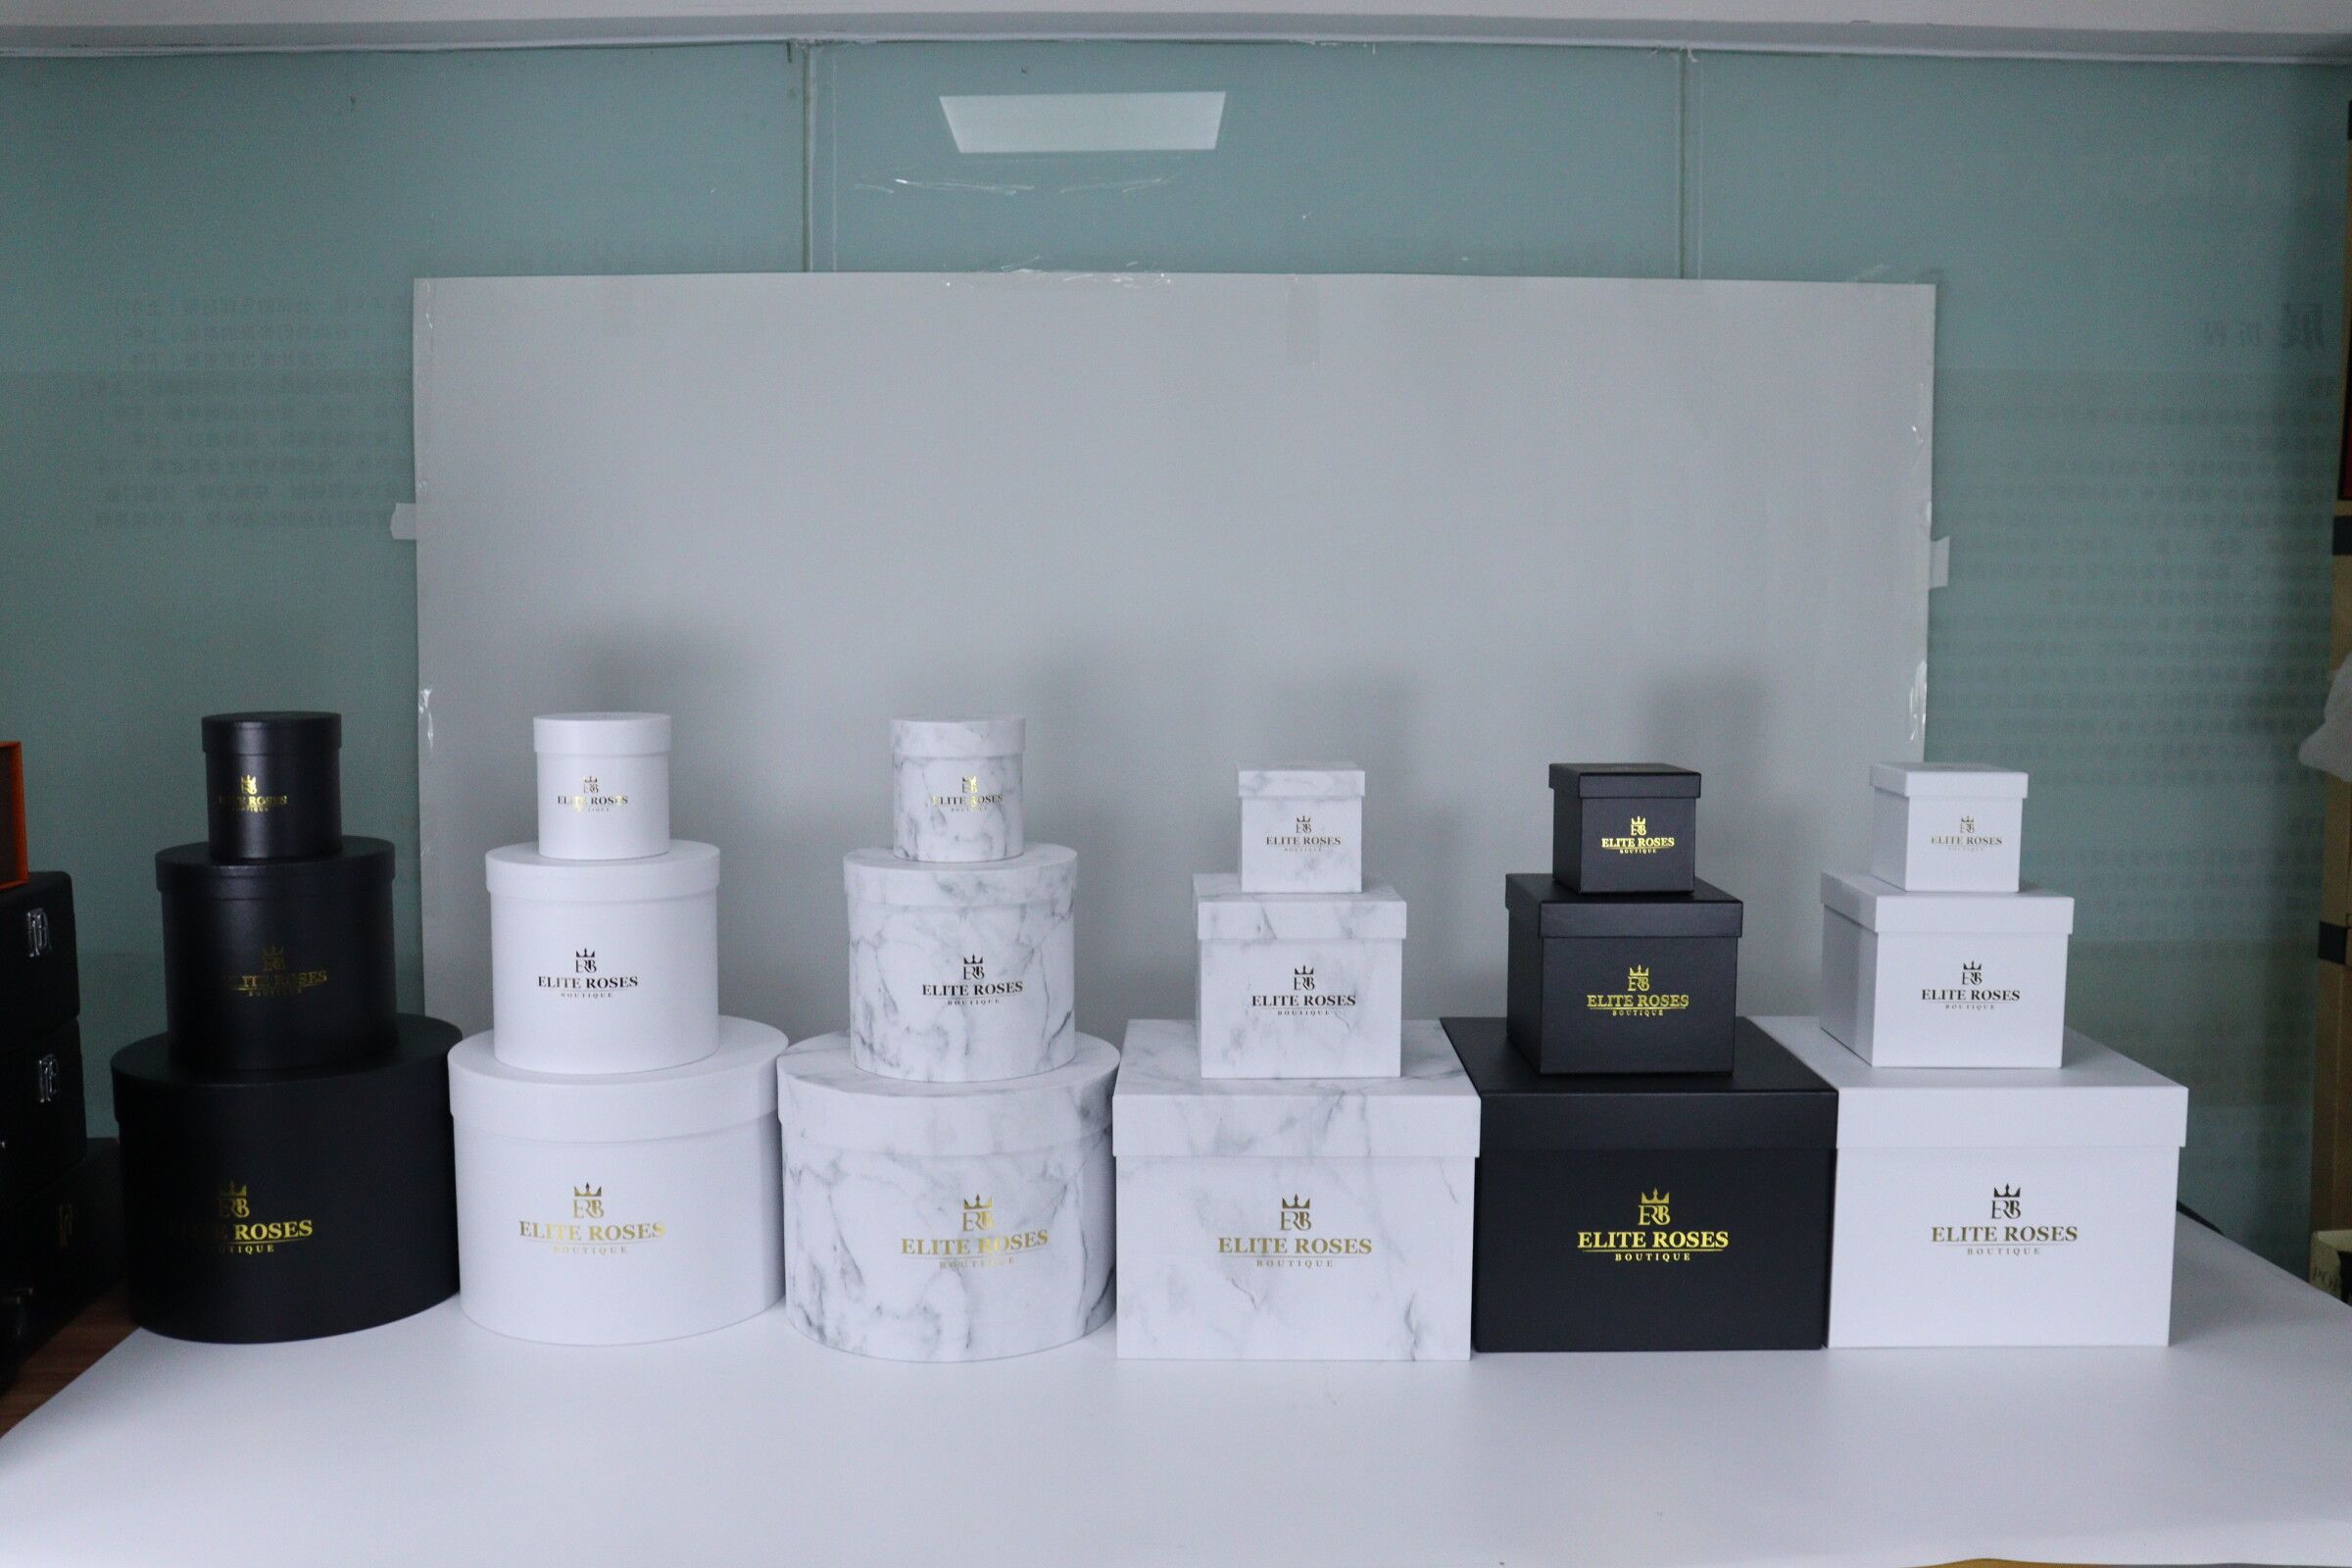
● Choosing the Right Flower Box
>> Material
>> Size
>> Style
● Gathering Your Tools and Materials
● Step-by-Step Mounting Process
>> 1. Mark the Mounting Location
>> 2. Install the Mounting Brackets
>> 3. Check for Plumb and Level
>> 4. Install the Second Bracket
>> 6. Add Drainage Holes (If Necessary)
>> Spring
>> Summer
>> Fall
>> Winter
● Troubleshooting Common Issues
>> Overwatering
>> Lighting
>> Accessories
Window box with colorful flowers
Adding a flower box to your home can instantly boost its curb appeal and create a charming focal point. Whether you're looking to brighten up your windows, railings, or fences, mounting a flower box is a relatively simple DIY project that can yield beautiful results. In this comprehensive guide, we'll walk you through the process of mounting a flower box, from selecting the right box to filling it with stunning blooms.
Before you begin the mounting process, it's essential to select the right flower box for your needs. Consider the following factors:
Flower boxes come in various materials, including:
- Wood
- PVC
- Fiberglass
- Metal
Each material has its pros and cons. For example, wood offers a classic look but may require more maintenance, while PVC is lightweight and weather-resistant.
Measure the area where you plan to mount the flower box. Ensure that the box is proportionate to your window or mounting location. A general rule of thumb is to choose a box that's about 1 inch shorter than the width of your window[1].
Select a style that complements your home's architecture. From traditional to modern designs, there's a flower box to suit every taste.

Before you begin the installation process, gather the following tools and materials:
- Flower box
- Mounting brackets
- Drill
- Screws
- Level
- Pencil
- Measuring tape
- Stud finder (for wood siding)
- Masonry anchors (for brick or concrete)
Now that you have your flower box and tools ready, let's dive into the mounting process.
Marking the mounting location
- Measure and mark where you want to place your flower box.
- Use a level to ensure your marks are straight.
- If mounting on wood siding, use a stud finder to locate the studs for secure attachment.
For double-hung or sliding windows, measure down 1 inch from the underside of the windowsill directly below one side of the window frame. For out-swinging windows, measure down 6 to 8 inches instead to allow for proper clearance[1].
Installing mounting brackets
- Hold the bracket against the wall at your marked location.
- Use a drill to create pilot holes for the screws.
- Secure the brackets to the wall using appropriate screws (and anchors if necessary).
When installing the first bracket, align its top with the pencil mark you made. Mark the bracket for the top screw hole, which should fall near the bottom of the first course of siding below the window. Use a countersink bit on a drill to bore a pilot hole and counterbore into the bracket on the mark[1].
After installing the top screw, make sure the bracket is perfectly plumb before securing it with the second screw. This step ensures your window box will hang straight and look professional. Use a 2-foot level against the side of the bracket to check that it's perfectly plumb. Adjust if necessary, then bore a pilot hole and counterbore for the second screw[1].
With the first bracket securely in place, it's time to install the second:
- Hold the second bracket in position under the windowsill, aligning it with the opposite side of the window frame.
- Lay a 4-foot level across the two brackets.
- Adjust the second bracket up or down until both brackets are level.
- Drill pilot holes and attach the bracket as you did with the first one[1].
Attaching the flower box
- Carefully lift the flower box and place it onto the installed brackets.
- Ensure the box is level and centered.
- Secure the box to the brackets using screws or the method specified by your flower box manufacturer.
Set the empty window box on top of the two brackets, making sure the angled side of the box faces outward. Center the box by measuring the overhang on each bracket and adjusting until the overhang is equal on both sides[1].
If your flower box doesn't have pre-drilled drainage holes, you'll need to add them:
- Turn the box upside down.
- Mark spots for drainage holes, spaced about 4 inches apart.
- Drill 1/4-inch holes at the marked spots.
Now that your flower box is securely mounted, it's time for the fun part – filling it with beautiful plants!
Adding a liner to the flower box
Start by adding a liner to your flower box. This helps retain moisture and protect the box from rot. You can use:
- Coconut coir liners
- Plastic liners
- Landscape fabric
Use a high-quality potting mix specifically designed for container gardening. The Flower Factory offers excellent potting mixes that provide the perfect balance of nutrients and drainage for your flower box plants.
Consider mixing vermiculite and raised bed soil 50/50 for the flower boxes. The vermiculite helps with moisture retention, nutrient distribution, and also lightens the weight of the box to prevent warping[4].
Choosing plants for your flower box
When selecting plants for your flower box, consider:
- Sunlight exposure
- Climate
- Color scheme
- Plant height and spread
The Flower Factory offers a wide variety of plants perfect for flower boxes, including:
- Petunias
- Geraniums
- Lobelia
- Bacopa
- Calibrachoa
Use the "thriller, filler, spiller" method to create a visually appealing arrangement:
- Thrillers: Tall, upright plants for the center or back of the box
- Fillers: Medium-height plants to fill in spaces
- Spillers: Trailing plants to cascade over the edges
Start by arranging the plants inside the window boxes (while they're still in their containers) to figure out where they'll go and how you want them to look. The tall thrillers usually go toward the back and the spillers toward the front[3].
1. Start with the thrillers: Dig three holes in the back of the window box. Break up the roots a bit and place the plants in the holes, then fill in with dirt.
2. Next, place the three spillers in the front, using the same technique. Make sure the flowers trail over the side of the window box.
3. Finally, fill in any empty spaces with the fillers[3].
After planting, water your flower box thoroughly. Maintain your plants by:
- Watering regularly
- Fertilizing every 2-4 weeks
- Deadheading spent blooms
- Pruning as needed


- Choose plants with similar water and sunlight needs for easier maintenance.
- Consider using self-watering flower boxes for low-maintenance gardening.
- Rotate your flower box periodically to ensure even growth if one side receives more sunlight.
- Visit the Flower Factory for expert advice on plant selection and care.
Spring is the perfect time to plant cool-season annuals in your flower box. The Flower Factory offers a variety of spring-blooming plants, such as:
- Pansies
- Violas
- Snapdragons
- Alyssum
For summer, choose heat-tolerant plants that can withstand the hot sun. The Flower Factory's summer selection includes:
- Marigolds
- Zinnias
- Verbena
- Lantana
As temperatures cool, replace summer annuals with fall-blooming plants. The Flower Factory offers beautiful autumn options like:
- Chrysanthemums
- Ornamental kale
- Pansies (for mild climates)
- Asters
In mild climates, you can keep your flower box vibrant during winter with cold-hardy plants. The Flower Factory's winter selection includes:
- Evergreen branches
- Winter pansies
- Ornamental cabbage
- Hellebores
Symptoms: Yellowing leaves, wilting despite moist soil
Solution: Reduce watering frequency and ensure proper drainage
Symptoms: Dry, crispy leaves, wilting
Solution: Increase watering frequency, consider adding a self-watering system
Symptoms: Holes in leaves, visible insects
Solution: Use organic pest control methods or consult with the Flower Factory for appropriate treatments
Symptoms: Stunted growth, discolored leaves
Solution: Fertilize regularly with a balanced fertilizer from the Flower Factory


Add solar-powered fairy lights to your flower box for a magical evening ambiance.
Incorporate small garden ornaments or miniature fairy garden elements for added charm.
Change out decorations seasonally to keep your flower box fresh and festive throughout the year.
Regular maintenance will keep your flower box looking beautiful year-round:
1. Water consistently, checking soil moisture daily during hot periods.
2. Fertilize every 2-4 weeks using a balanced, water-soluble fertilizer.
3. Deadhead spent blooms to encourage continued flowering.
4. Prune plants as needed to maintain shape and prevent overcrowding.
5. Replace annuals seasonally or as they fade.
6. Check the box and mounting hardware periodically for any needed repairs.
Mounting a flower box is a rewarding project that can significantly enhance your home's exterior. With the right tools, plants, and care, you can create a stunning display that brings color and life to your space year-round. Remember to visit the Flower Factory for the best selection of plants and expert advice to make your flower box truly spectacular.
1. Q: How often should I water my flower box?
A: Water frequency depends on factors like plant type, climate, and sun exposure. Generally, water when the top inch of soil feels dry. During hot summer months, you may need to water daily.
2. Q: Can I use regular garden soil in my flower box?
A: It's best to use a high-quality potting mix specifically designed for container gardening. The Flower Factory offers excellent potting mixes that provide proper drainage and nutrients for flower box plants.
3. Q: How do I prevent my flower box from becoming waterlogged?
A: Ensure your flower box has adequate drainage holes. You can also add a layer of gravel at the bottom of the box before adding soil to improve drainage.
4. Q: What are the best plants for a sunny flower box?
A: Sun-loving plants like petunias, geraniums, marigolds, and verbena thrive in sunny flower boxes. The Flower Factory offers a wide selection of sun-tolerant plants perfect for bright locations.
5. Q: How do I protect my flower box plants from frost?
A: When frost is expected, cover your flower box with a frost cloth or bring it indoors if possible. You can also choose cold-hardy plants from the Flower Factory for winter displays in milder climates.
Citations:
[1] https://www.thisoldhouse.com/windows/21016687/how-to-hang-a-window-box
[2] https://www.wayfair.com/sca/ideas-and-advice/guides/how-to-install-window-boxes-a-step-by-step-guide-T12929
[3] https://www.zucchinisisters.com/window-box-flowers/
[4] https://roomfortuesday.com/how-to-install-window-flower-boxes/
[5] https://www.flowerwindowboxes.com/Window-Box-Installation-s/130.htm
[6] https://www.youtube.com/watch?v=154StD3x0vA
[7] https://www.youtube.com/watch?v=EPYN4W8_KXc
[8] https://www.youtube.com/watch?v=0oTfiAYjYCs
[9] https://www.reddit.com/r/HomeImprovement/comments/gte2we/tips_on_attaching_window_planter_box/
[10] https://tanic.design/blog/guide-to-installing-flower-window-boxes-for-your-home


