- All
- Product Name
- Product Keyword
- Product Model
- Product Summary
- Product Description
- Multi Field Search
Views: 198 Author: XianDa Publish Time: 2024-12-19 Origin: Site

Content Menu
● How to Make a Window Flower Box
● Planning Your Window Flower Box
● Mounting Your Window Flower Box
● Planting Your Window Flower Box
● Flower Paper Box Factory Considerations
● Creative Ideas for Window Flower Boxes
● FAQs
Window flower boxes are a charming addition to any home, adding a pop of color and natural beauty to your exterior. In this comprehensive guide, we'll walk you through the process of creating your own DIY window flower box, from planning and construction to planting and maintenance. Whether you're a seasoned DIY enthusiast or a beginner, this project is achievable and rewarding.
Before you begin construction, it's essential to plan your window flower box project carefully. Consider the following factors:
1. Size: Measure your window to determine the appropriate size for your flower box. Typically, window boxes are slightly shorter than the window's width.
2. Material: Choose a durable material that can withstand outdoor conditions. Cedar is an excellent choice due to its natural resistance to rot and insects.
3. Style: Decide on a style that complements your home's architecture. You can opt for a simple design or add decorative elements.
4. Drainage: Ensure your design includes proper drainage to prevent water from pooling and damaging your plants' roots.
5. Weight: Consider the weight of the filled box and ensure your mounting method can support it.
6. Sun exposure: Take note of how much sunlight the window receives to choose appropriate plants.
Window flower box planning
Gather the following materials and tools before you begin:
- Cedar boards (1x6 for the sides, 1x8 for the bottom)
- Exterior wood screws
- Wood glue
- Drill and drill bits
- Circular saw or miter saw
- Measuring tape
- Pencil
- Sandpaper
- Wood sealer or paint
- Brackets for mounting (if not attaching directly to the house)
- Safety goggles and work gloves
- Level
- Carpenter's square


Measure and cut your cedar boards to the desired length for the front, back, and sides of your window box. Cut the bottom piece slightly smaller to fit inside the box. Remember to wear safety goggles and work gloves during this process.
Cutting wood for window box
1. Apply wood glue to the edges of the side pieces.
2. Attach the front and back pieces to the sides using exterior wood screws.
3. Place the bottom piece inside the box and secure it with screws from the bottom.
4. Use a carpenter's square to ensure all corners are at right angles.
Drill several 1/2-inch drainage holes in the bottom of the box, spaced evenly apart. This step is crucial for preventing water accumulation and root rot.
Drilling drainage holes
Sand all surfaces of the box to smooth any rough edges. Pay special attention to the corners and edges to prevent splinters. Apply a wood sealer or paint to protect the box from the elements. Consider using a water-resistant finish for added durability.
Sanding and finishing
There are two main methods for mounting your window flower box:
1. Direct attachment to the house
2. Using brackets
If attaching directly to the house, locate the studs beneath the window and mark their positions. Pre-drill holes in the back of the flower box and use lag bolts to secure it to the studs. Ensure the box is level before final tightening.
For bracket mounting, install sturdy brackets beneath the window, ensuring they're level. Place the flower box on the brackets and secure it with screws. This method allows for easier removal and maintenance.
Mounting window flower box
Now comes the fun part – planting your window flower box! Here are some tips for creating a beautiful display:
1. Use a high-quality potting mix designed for containers. This ensures proper drainage and nutrient retention.
2. Choose a variety of plants with different heights, colors, and textures. This creates visual interest and depth in your display.
3. Consider the "thriller, filler, spiller" approach:
- Thriller: Tall, eye-catching plants in the center
- Filler: Medium-height plants to add fullness
- Spiller: Trailing plants to cascade over the edges
4. Take into account the sun exposure of your window when selecting plants. Choose sun-loving plants for south-facing windows and shade-tolerant varieties for north-facing ones.


Planting window flower box
Some popular plants for window boxes include:
- Geraniums
- Petunias
- Sweet potato vine
- Lobelia
- Calibrachoa
- Coleus
- Begonias
- Impatiens (for shaded areas)
- Marigolds
- Verbena
To keep your window flower box looking its best:
1. Water regularly, especially during hot weather. Check soil moisture daily and water when the top inch feels dry.
2. Fertilize every 2-4 weeks with a balanced, water-soluble fertilizer. This promotes healthy growth and abundant blooms.
3. Deadhead spent blooms to encourage continued flowering and maintain a tidy appearance.
4. Trim plants as needed to maintain shape and prevent overcrowding. This also improves air circulation, reducing the risk of fungal diseases.
5. Monitor for pests and diseases, addressing any issues promptly to prevent spread.
6. Replace or refresh soil annually to ensure optimal nutrient levels.
Maintaining window flower box
Adapt your window box plantings to the changing seasons:
- Spring: Plant early-blooming annuals and bulbs such as tulips, daffodils, and pansies.
- Summer: Use heat-tolerant annuals and trailing plants like petunias, verbena, and sweet potato vine.
- Fall: Incorporate ornamental grasses, mums, and pansies for autumn color.
- Winter: Add evergreen branches, berries, and cold-hardy plants like winter pansies or ornamental kale.
Seasonal window box displays
While we've focused on creating a wooden window flower box, it's worth mentioning that some companies, including flower paper box factories, produce alternative options. These paper-based flower boxes can be an eco-friendly and lightweight choice for temporary displays or indoor use. However, for long-lasting outdoor window boxes, wood or other durable materials are generally preferred.

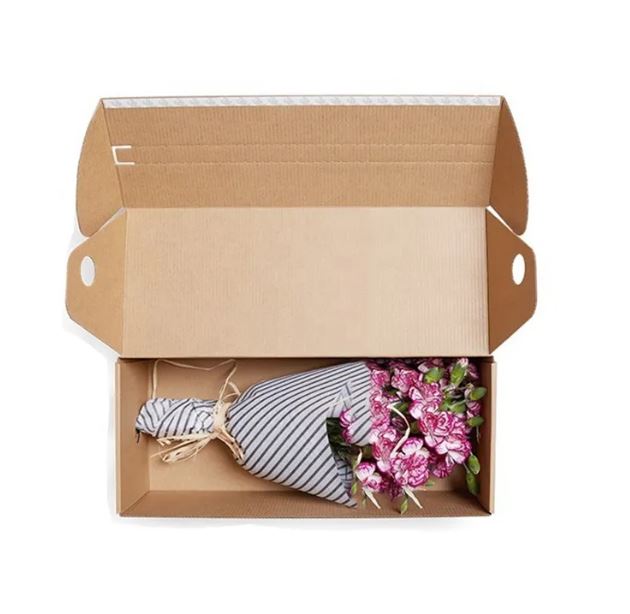
If you're interested in exploring paper-based options for other floral projects, consider reaching out to a flower paper box factory. They may offer unique solutions for gift packaging, floral arrangements, or temporary decorative elements. Some flower paper box factories specialize in creating custom designs that can complement your home's aesthetic for special occasions or seasonal displays.
Paper flower boxes
To make your window flower box stand out, consider these creative ideas:
1. Theme gardens: Create a miniature herb garden, butterfly garden, or succulent display.
2. Color coordination: Match your flower box plantings to your home's exterior color scheme.
3. Vertical elements: Incorporate small trellises or stakes for climbing plants like morning glories or clematis.
4. Seasonal decorations: Add small ornaments, fairy lights, or seasonal accents to enhance your display.
5. Upcycled containers: Repurpose vintage containers or unique finds as alternative window boxes.
Creating a DIY window flower box is a rewarding project that can significantly enhance your home's curb appeal. By following these steps and tips, you'll be able to design, build, and maintain beautiful window boxes that bring color and life to your home's exterior. Remember to choose plants that suit your climate and sunlight conditions, and don't be afraid to experiment with different combinations throughout the year.
Whether you opt for a traditional wooden box or explore alternatives from a flower paper box factory, your window flower box will become a focal point of your home's exterior. With proper care and creativity, your window boxes will provide year-round beauty and a personal touch to your living space.
1. Q: How often should I water my window flower box?
A: The frequency of watering depends on the plants, climate, and season. Generally, check the soil moisture daily and water when the top inch feels dry. During hot summer months, you may need to water daily or even twice a day.
2. Q: Can I use plastic window boxes instead of wood?
A: Yes, plastic window boxes are a viable alternative. They're lightweight, durable, and often less expensive than wood. However, they may not have the same aesthetic appeal as wooden boxes.
3. Q: How do I prevent my window flower box from rotting?
A: Use rot-resistant wood like cedar, ensure proper drainage, and apply a water-resistant sealer or paint. Also, avoid letting the box sit directly in standing water.
4. Q: What are some low-maintenance plants for window boxes?
A: Some low-maintenance options include succulents, geraniums, petunias, and trailing vinca. These plants are relatively drought-tolerant and don't require frequent pruning.
5. Q: Can I grow vegetables or herbs in my window flower box?
A: Absolutely! Many herbs and compact vegetable varieties grow well in window boxes. Consider planting basil, parsley, cherry tomatoes, or compact pepper varieties.


